3D Pipeline · Photogrammetry · Unreal
Digital Human Pipeline
An international talent agency wanted digital replicas of their models. Coordinating between their offices meant travel and scheduling around it, and the replicas needed to work anywhere, at any time.
Goals
- Digital doubles accurate enough to sit inside real footage
- A repeatable process rather than a one-off
- Let the New York and overseas offices work on the same shoot remotely
Challenges
- MetaHuman was still in beta, with no documentation and no workflow to copy
- Open-ended briefs and no fixed technical specs to build against
- Three to five day turnarounds per iteration
My role
- Designed and documented the pipeline end to end
- Photogrammetry capture, mesh cleanup, retopology
- Custom XGen hair grooms built from reference
- Environment build and Unreal integration
Background
An international talent agency represents models across offices in New York and overseas. Coordinating a shoot between those offices meant moving people, and that travel cost sat behind every project the two teams shared.
They came to iON Creative Studios with a question rather than a specification: could their models exist as digital replicas accurate enough to use inside real footage? I led that work as Lead 3D Artist over roughly two years.
The Challenge
MetaHuman was in beta, with no documentation and no reference workflow to adapt. The briefs described outcomes rather than technical specifications, which left the definition of accurate enough to be established through the work itself. Turnarounds ran three to five days per iteration, fast enough to punish a wrong approach and slow enough that finding one late would cost real time.
Approach
First attempt: overlaying
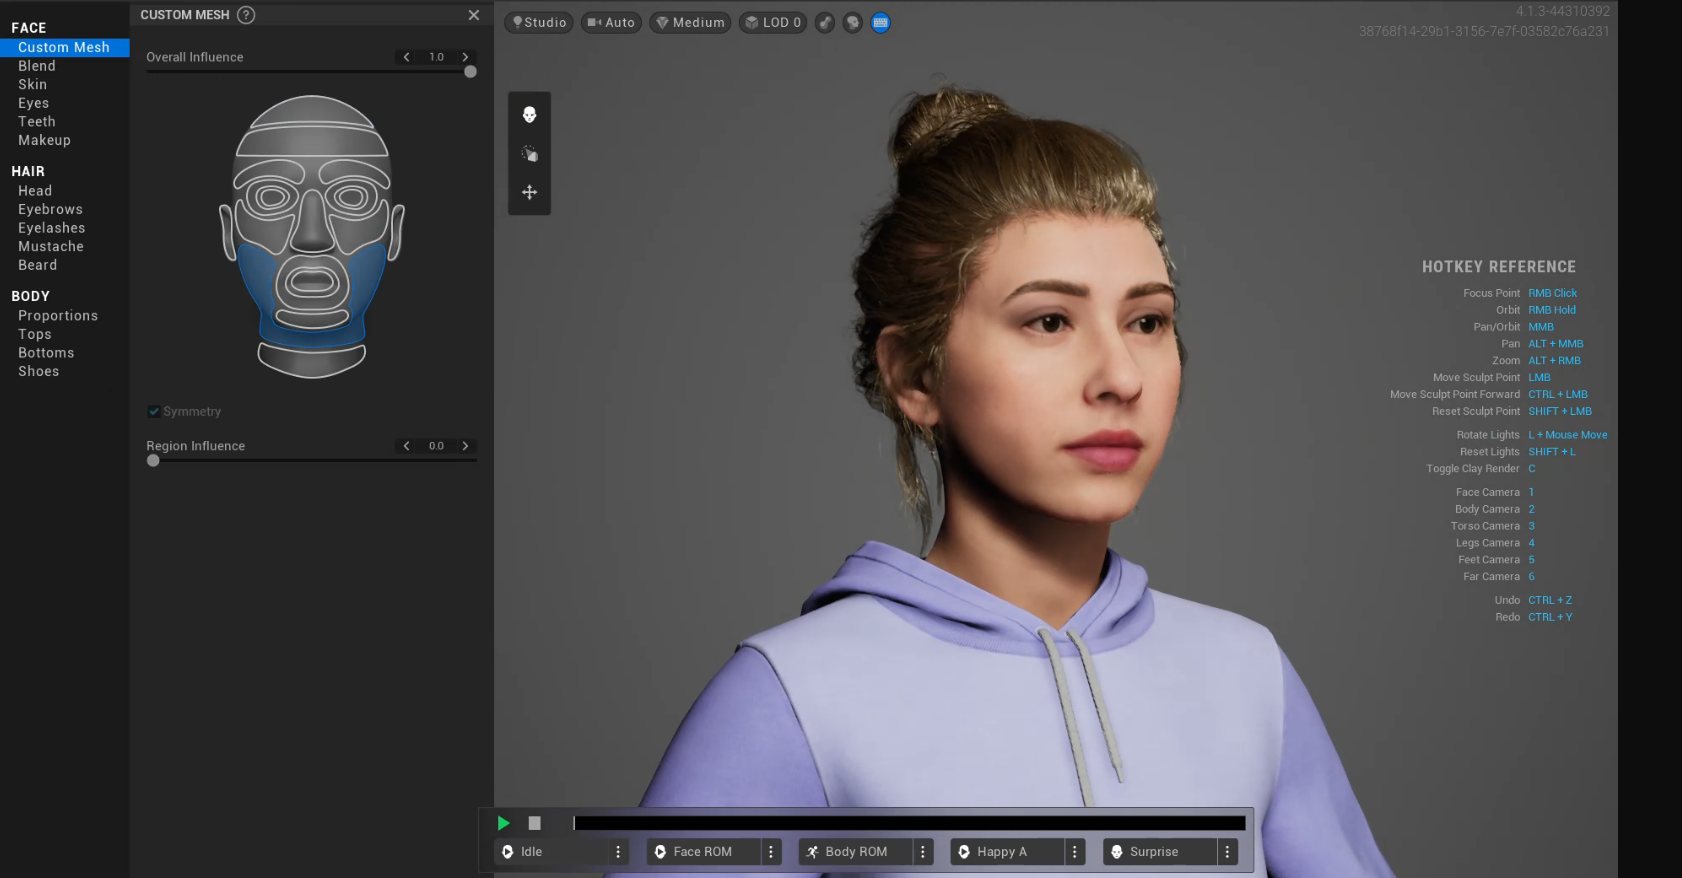
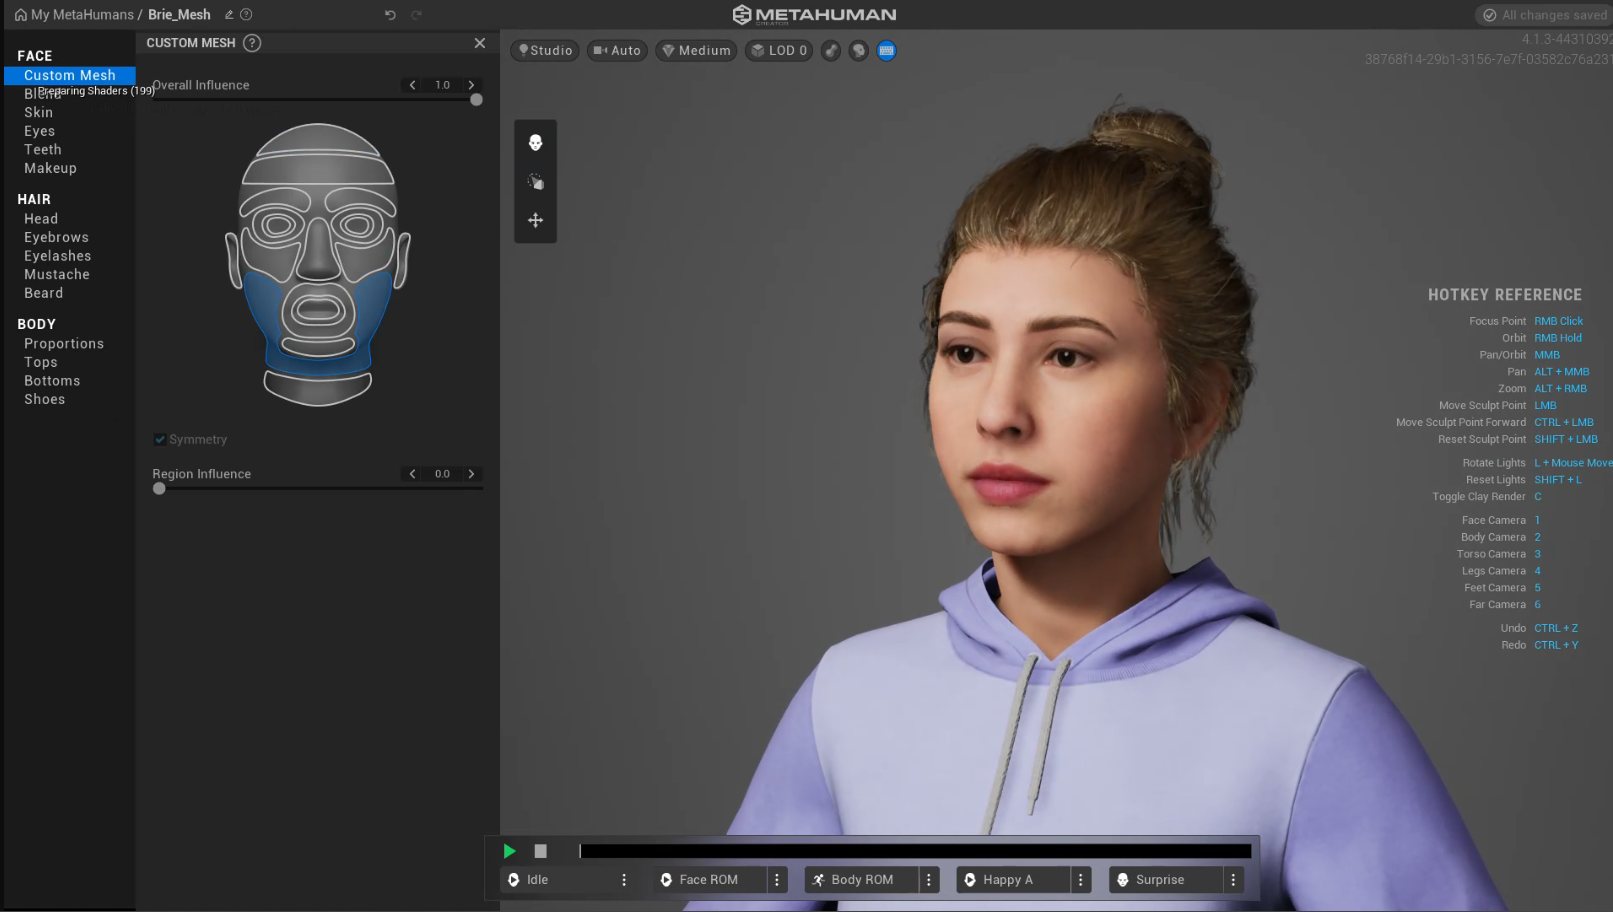
My first approach overlaid photos onto the MetaHuman Creator window and matched the face sliders by eye.
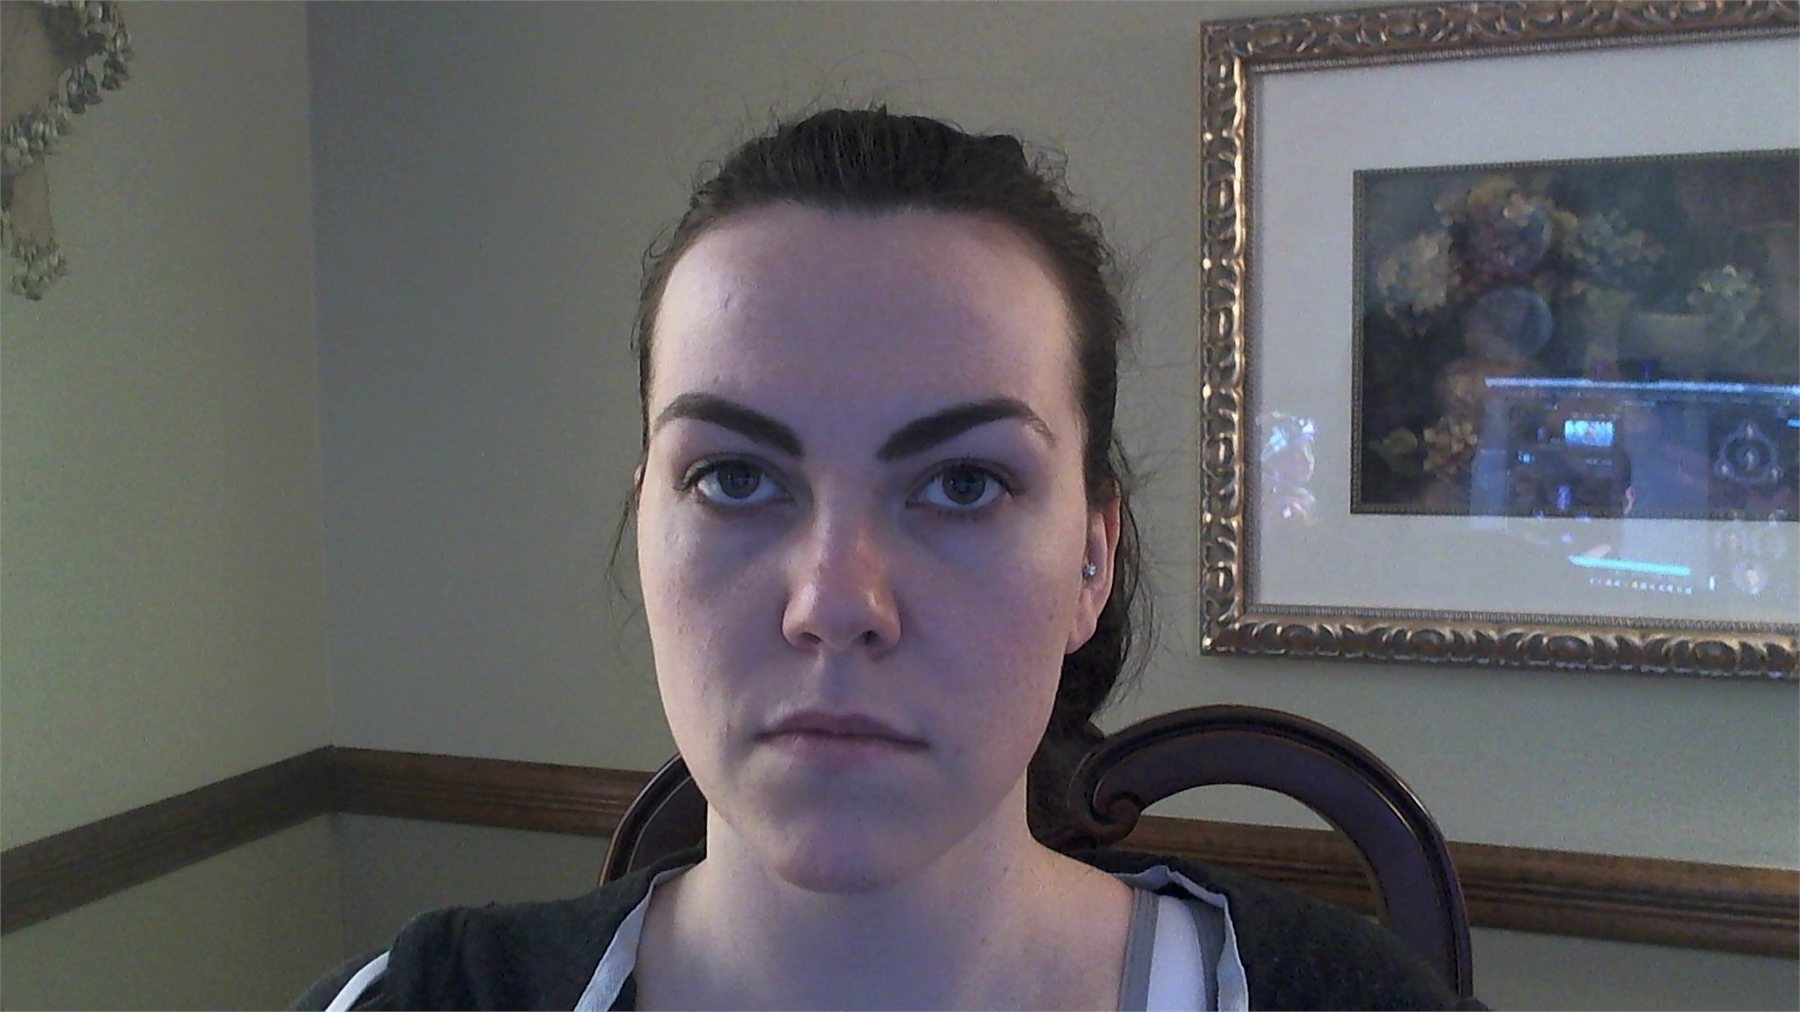
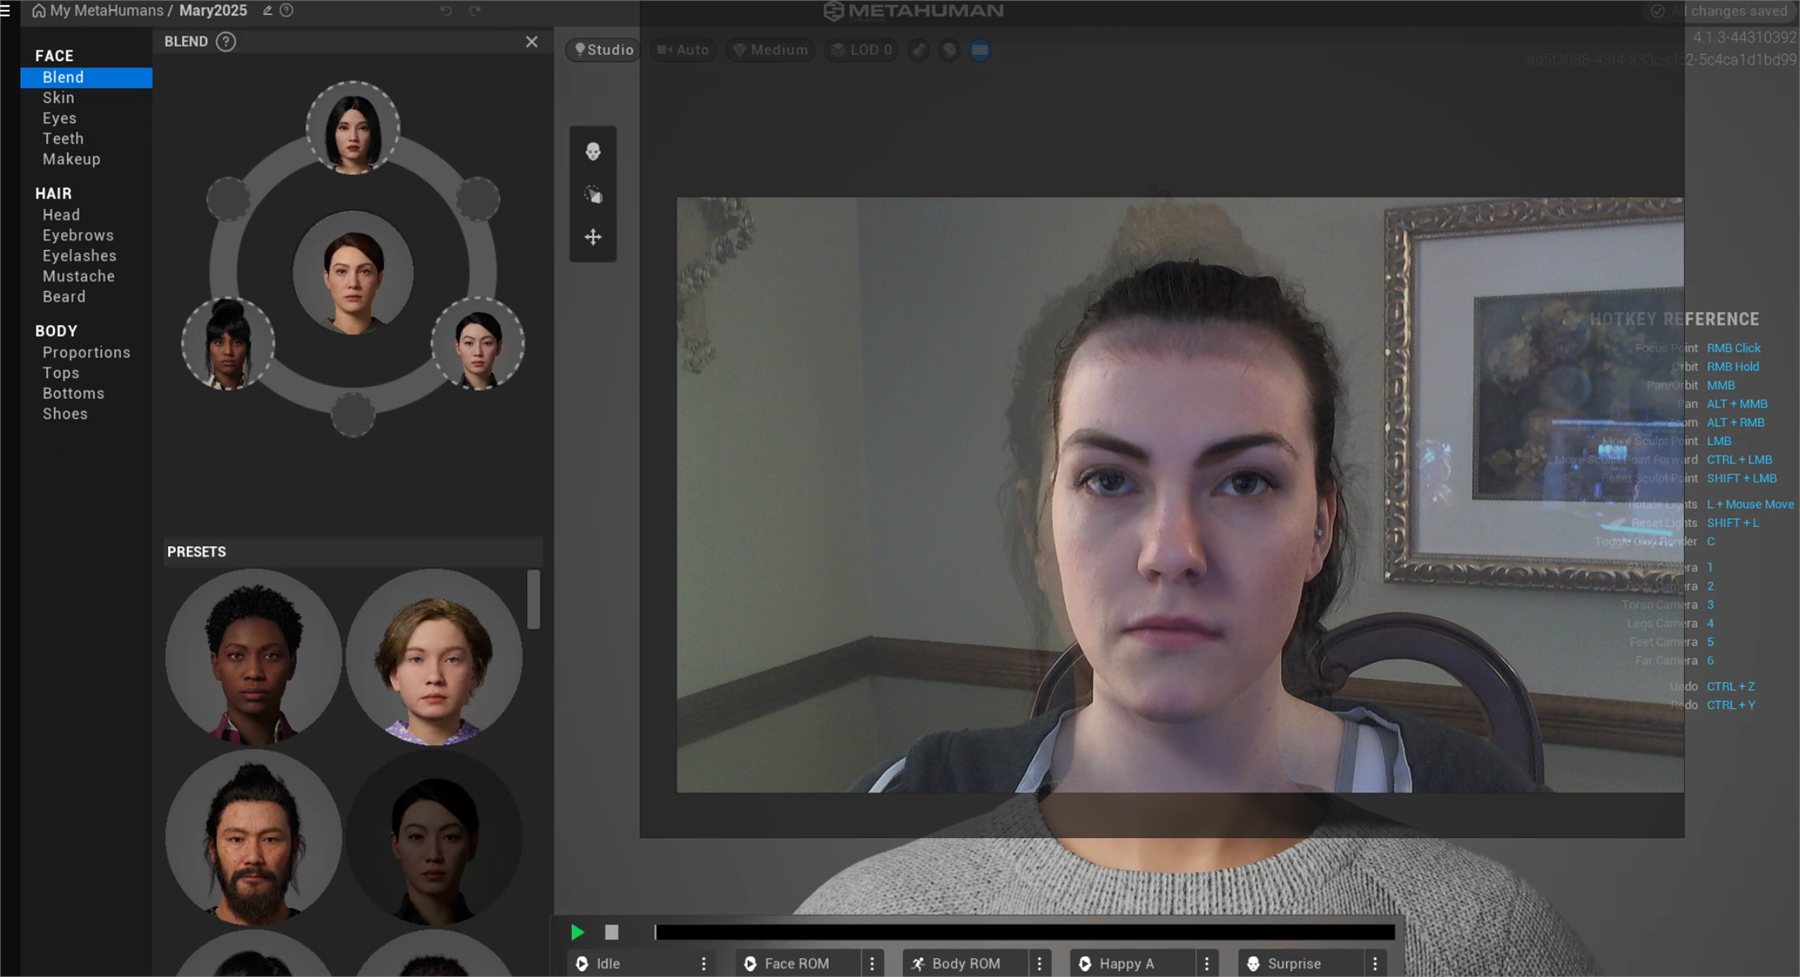
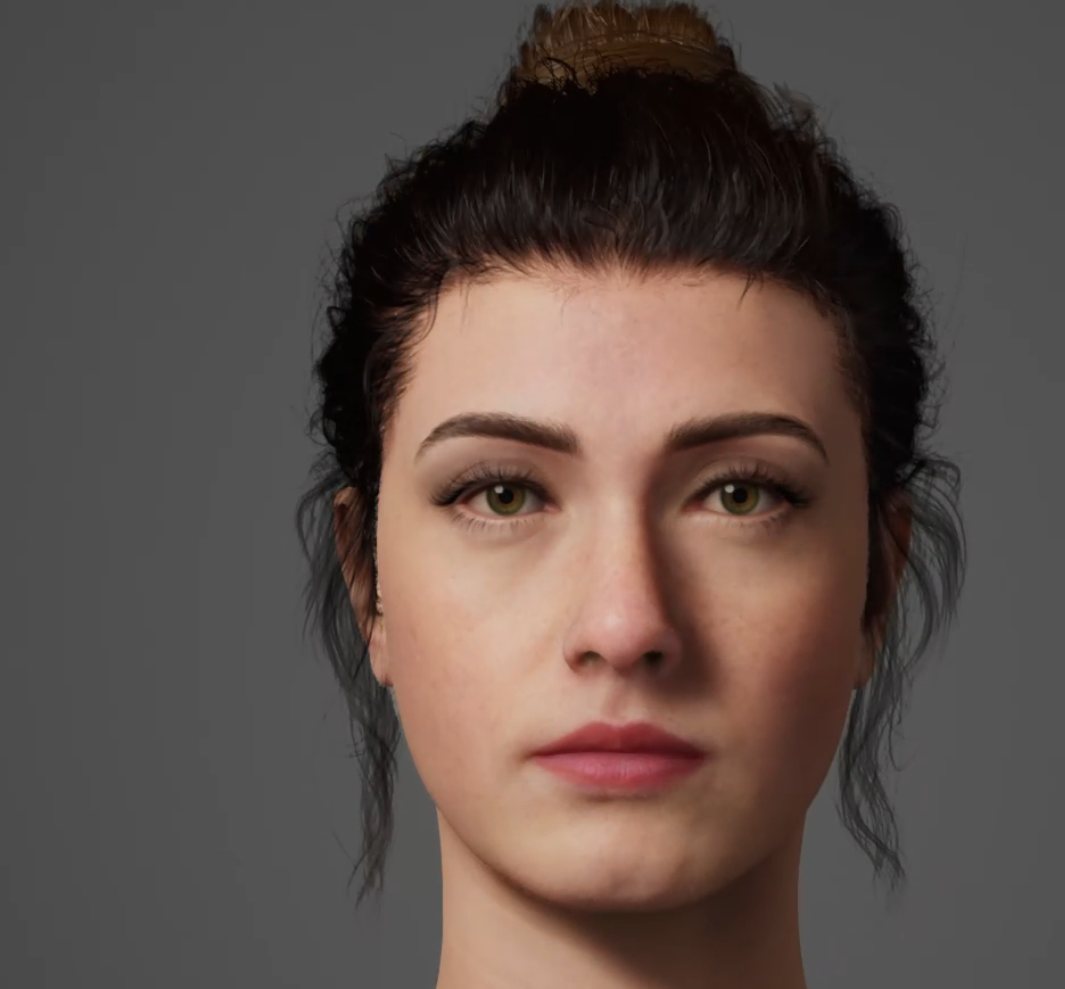
It came close without being usable, because a flat photo throws away the real measurements.
Photogrammetry
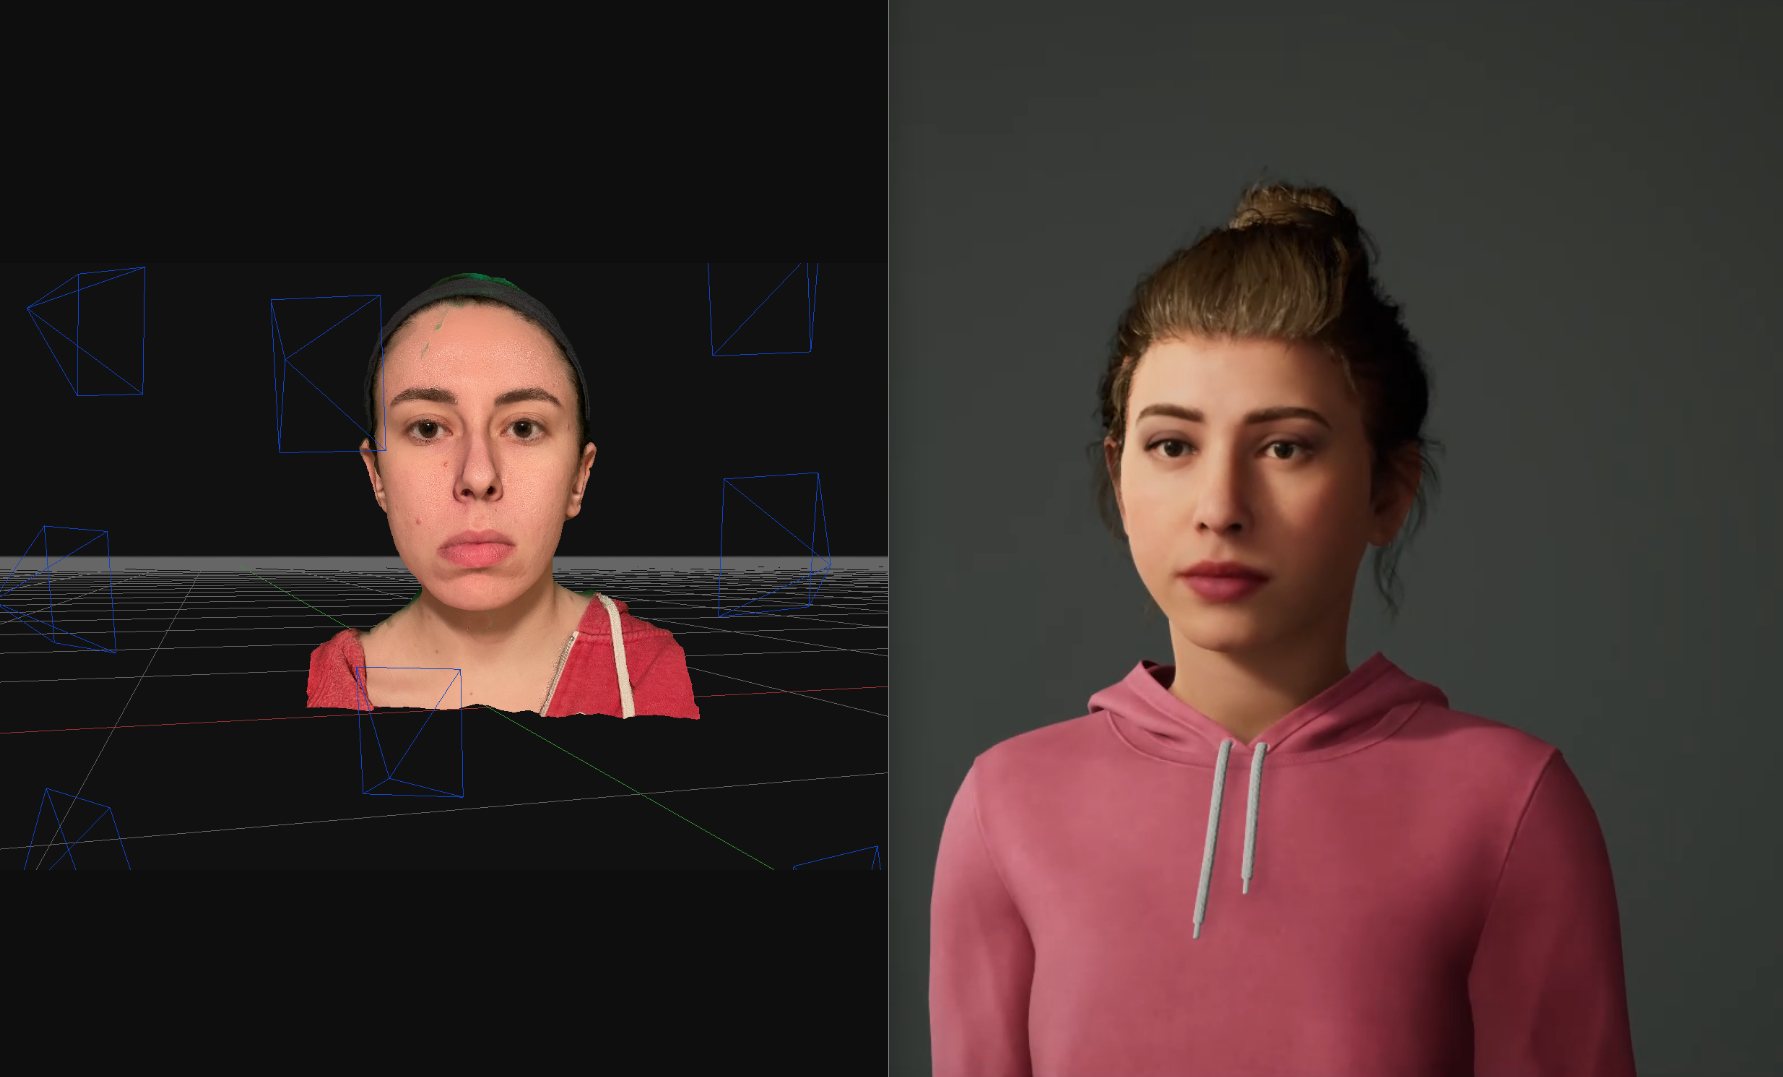
Photogrammetry gave me those measurements. I tested mobile capture apps including Polycam and Abound, but their meshes came out compressed and imported badly into Maya and Unreal.
The available tutorials all covered stationary objects rather than people. I proved the process on a bust before bringing in a live subject.
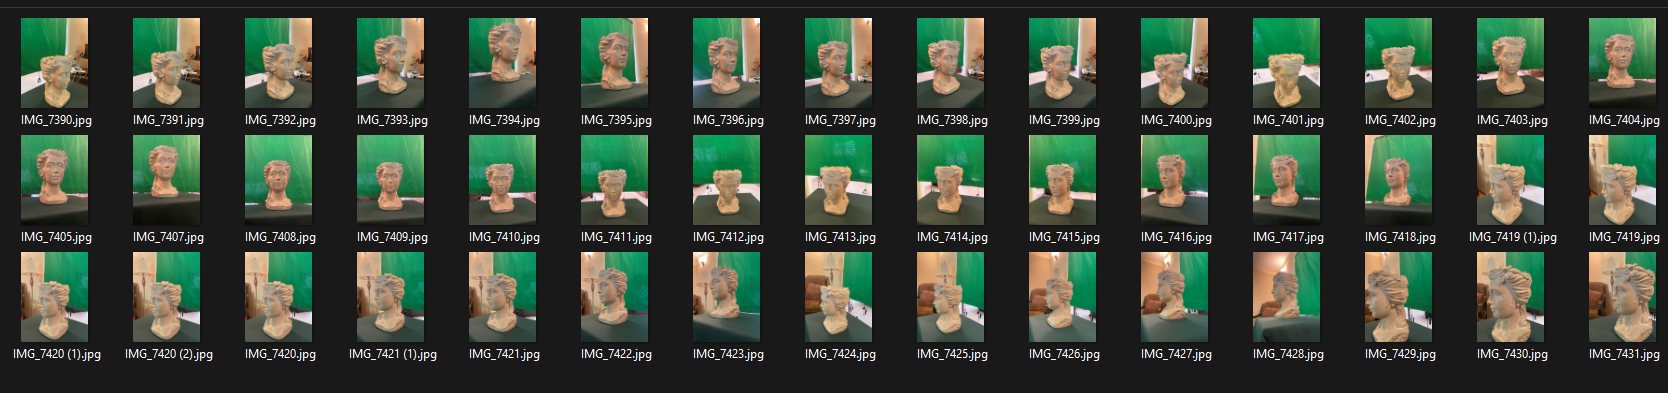
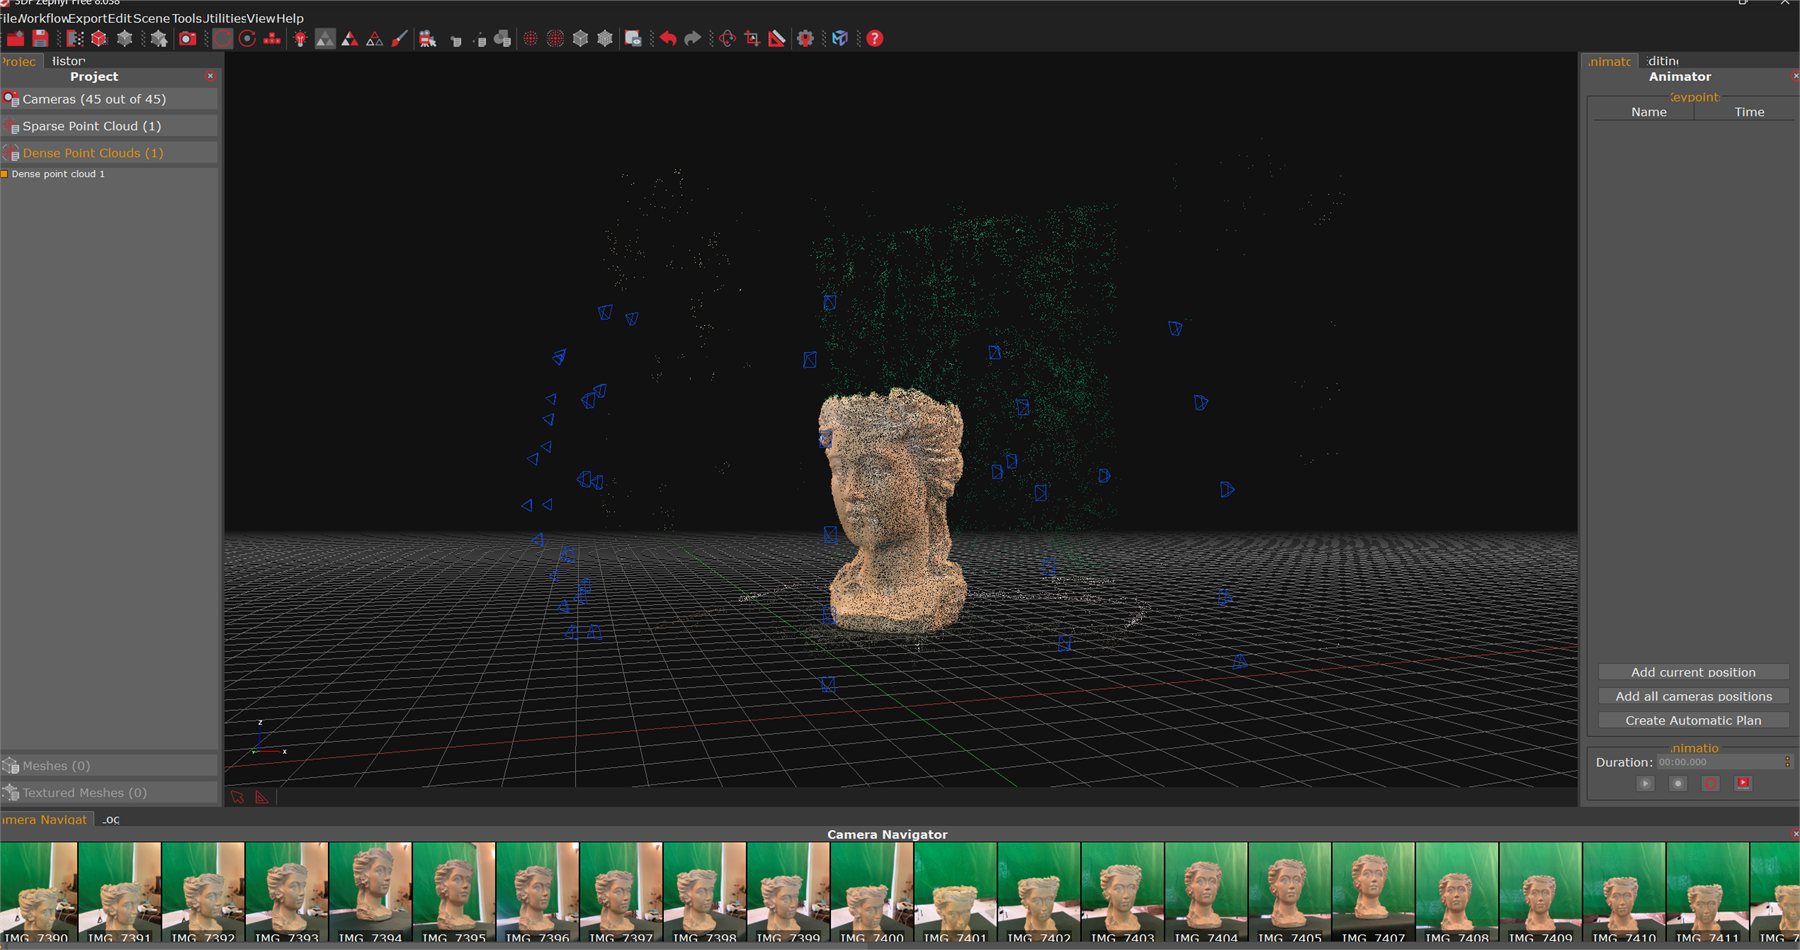
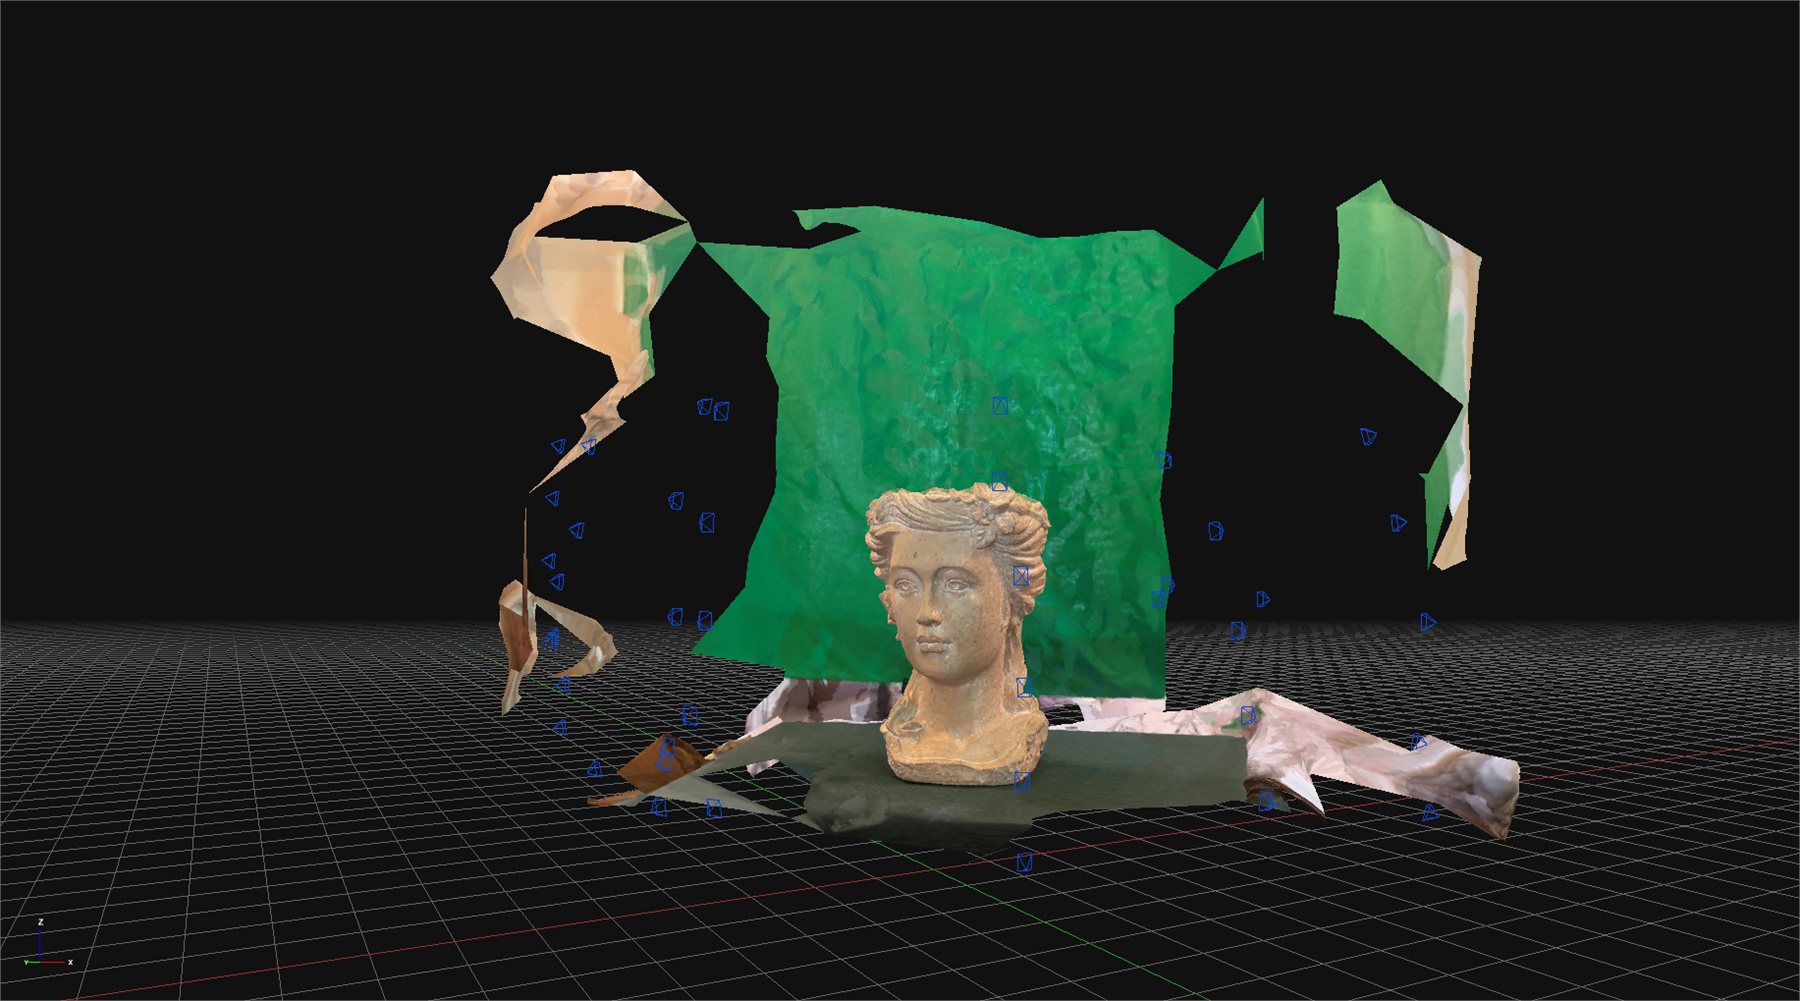
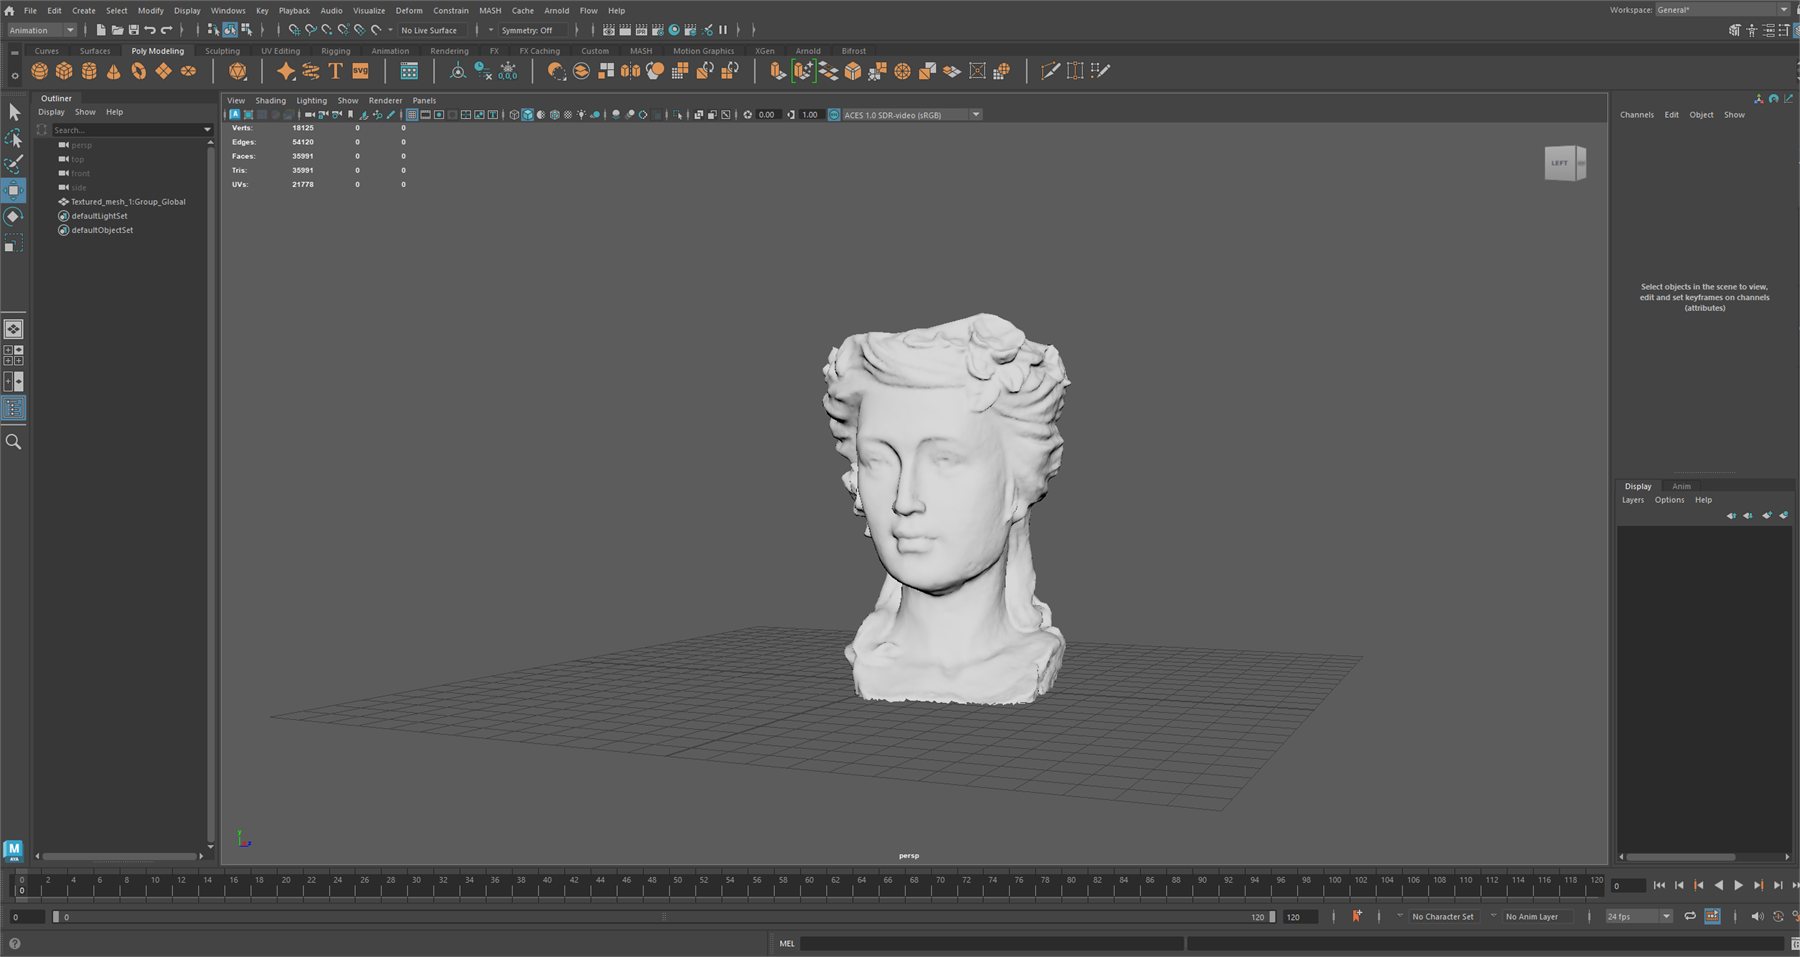
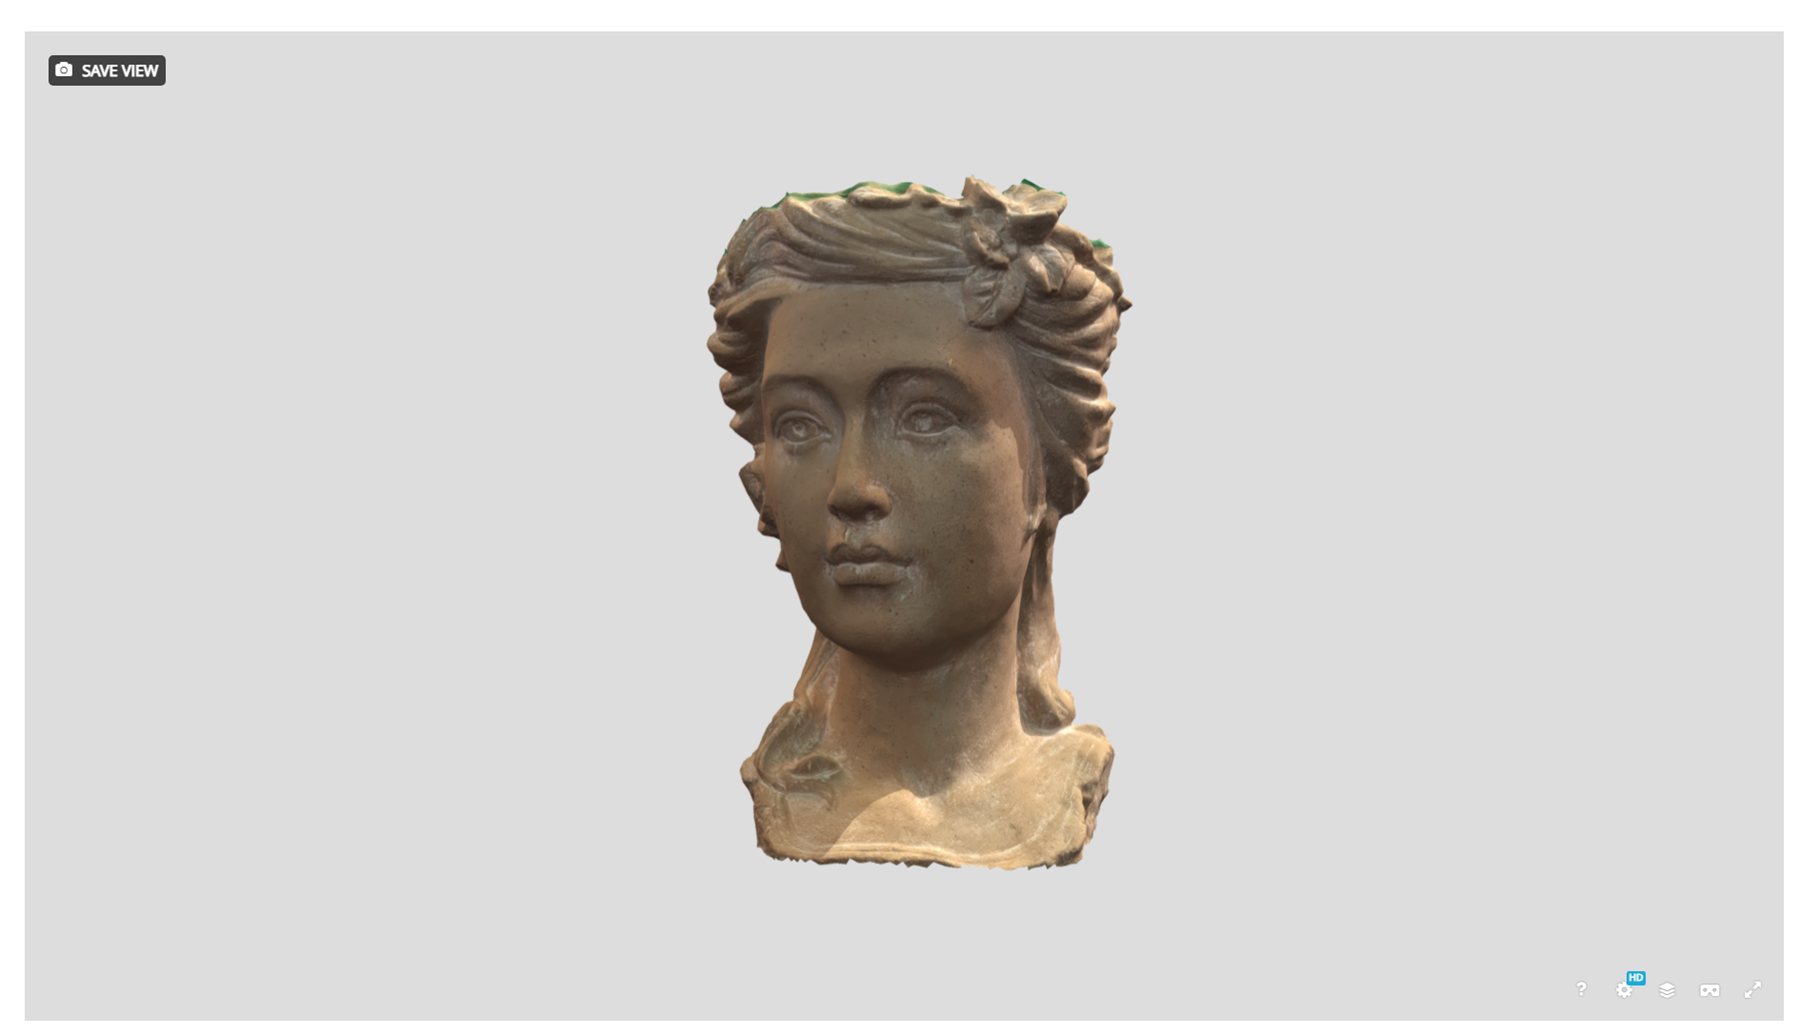
The first live capture came back full of holes. Reflective surfaces were the cause: the subject’s glasses and a mirror in the room. Photogrammetry solves for a fixed surface, and reflections shift as the camera moves. I cleared the room, reshot, and the second dataset processed clean.
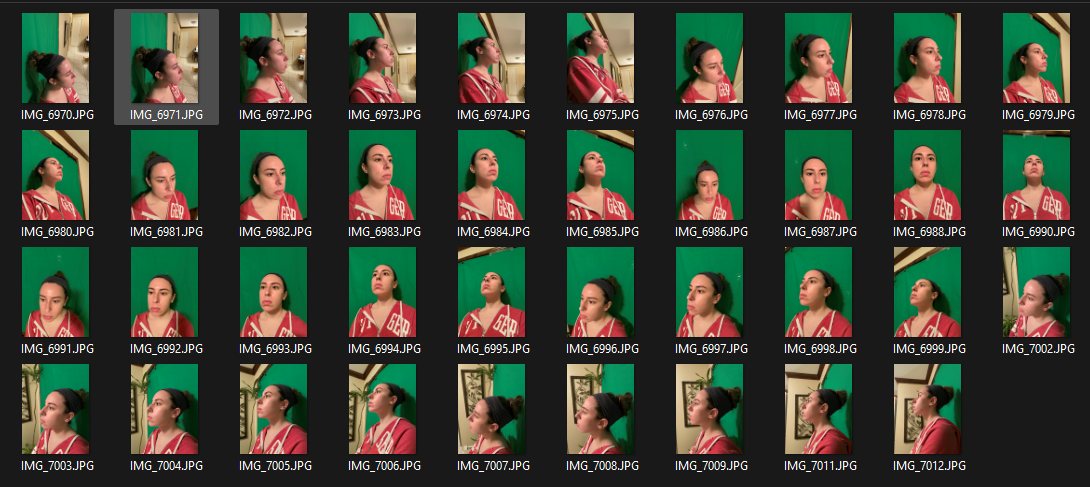
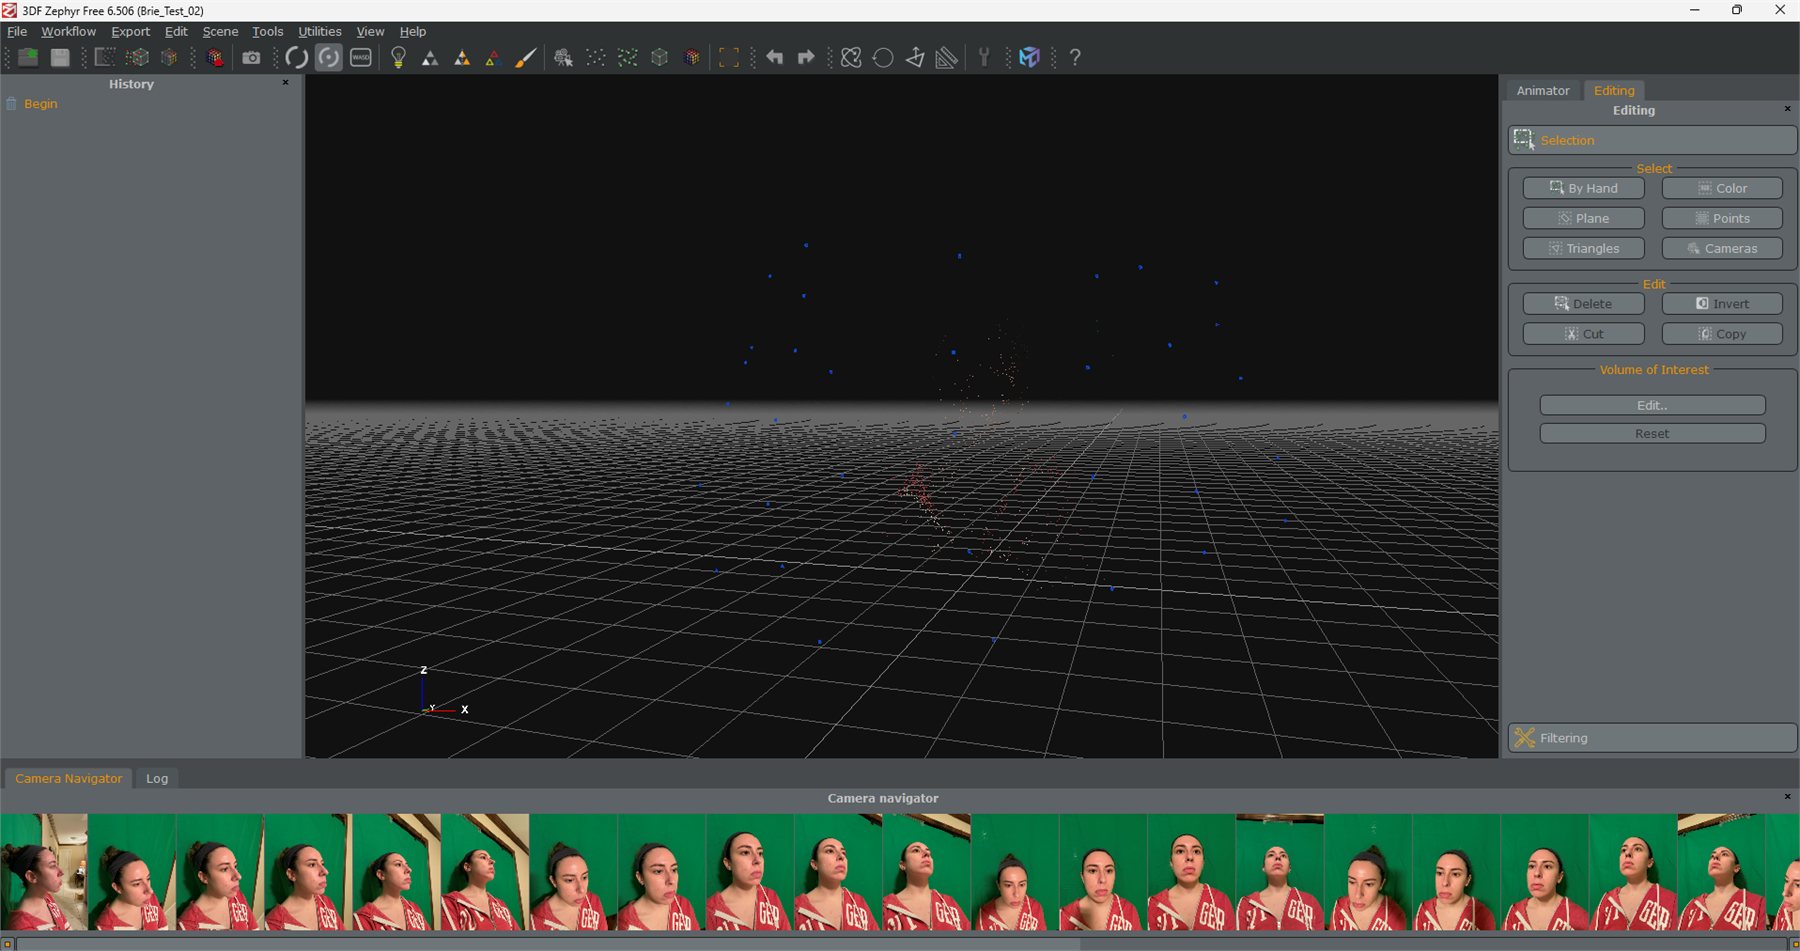
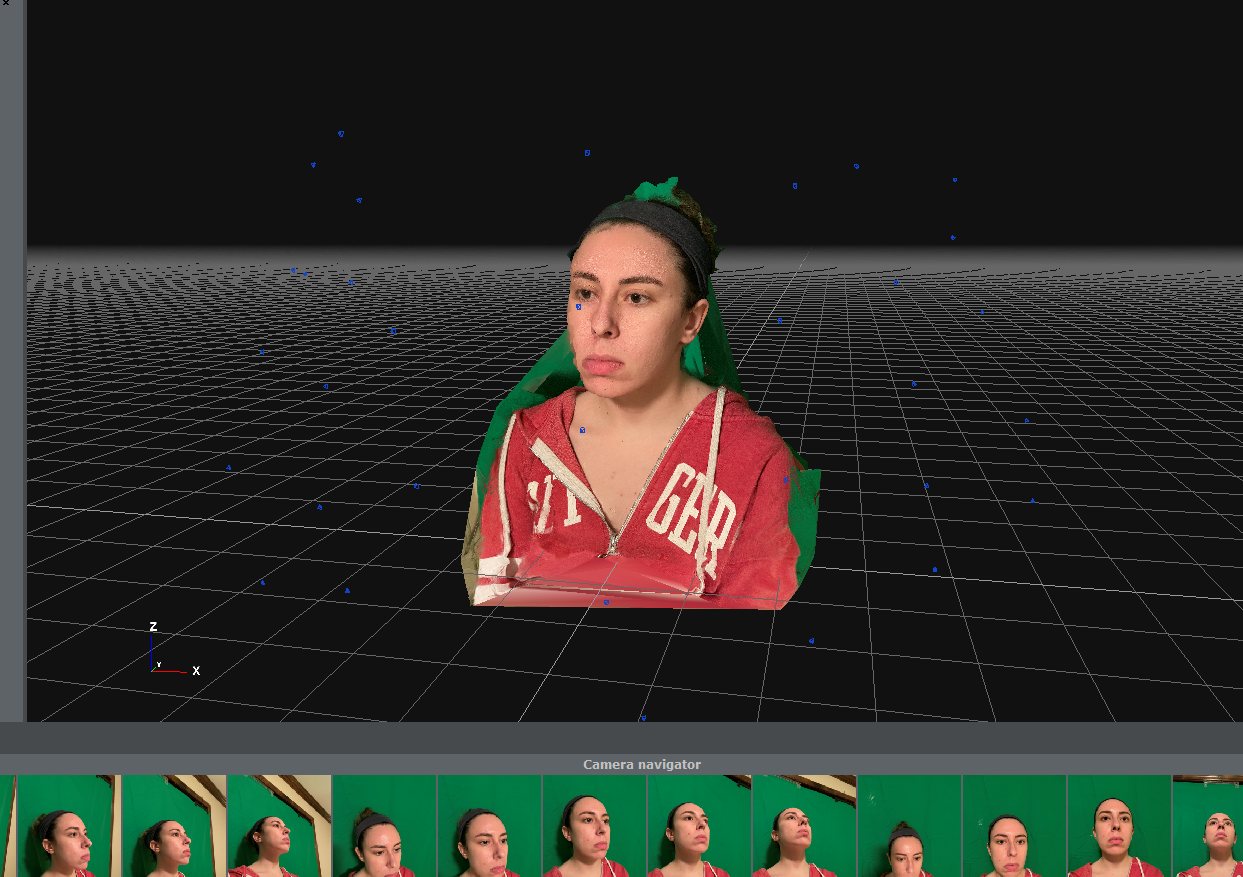
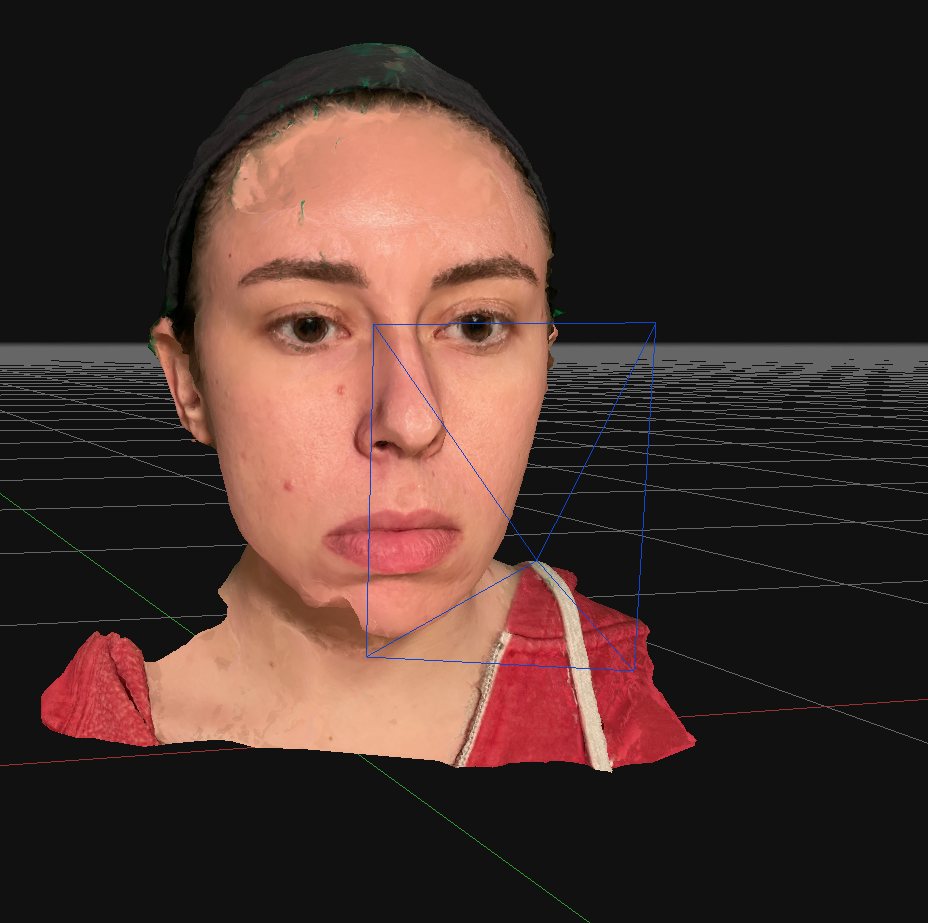
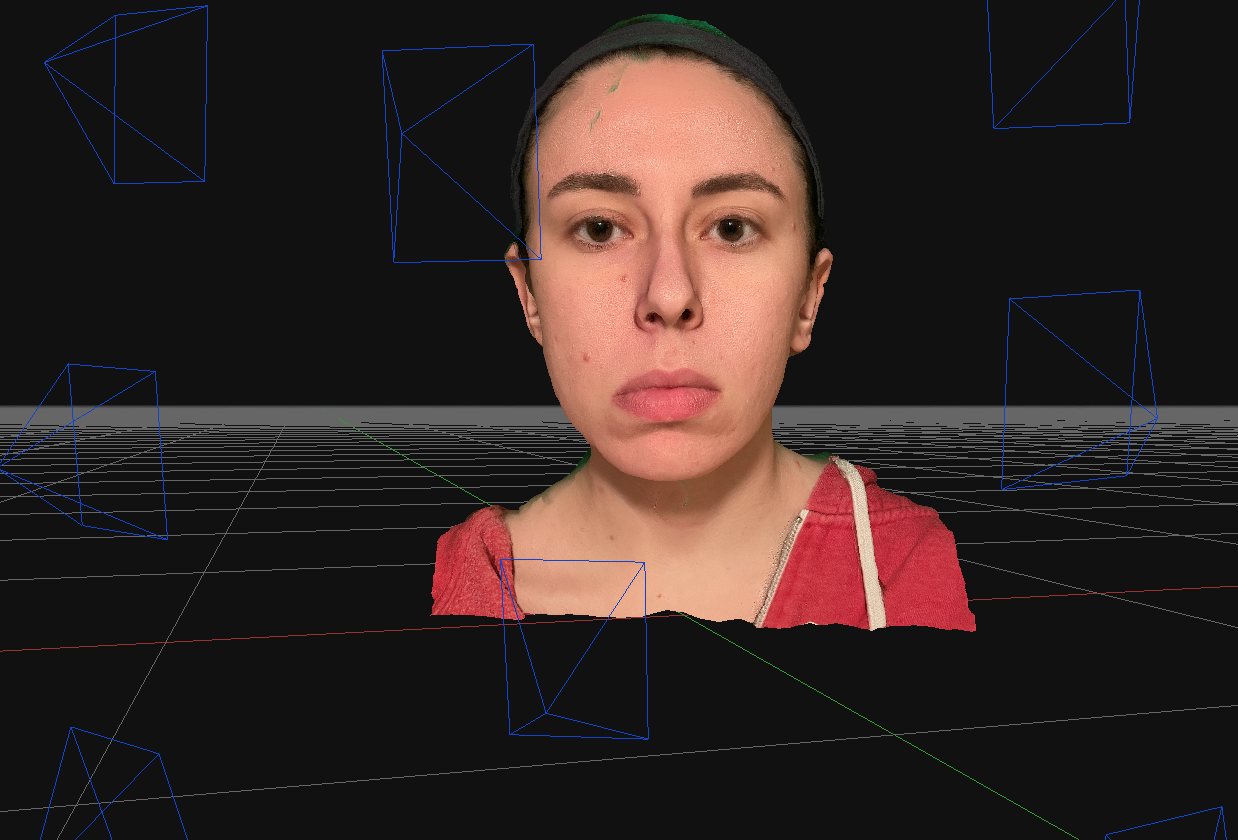
Once the process held up on a live subject, I ran it across the agency's roster.
Hair
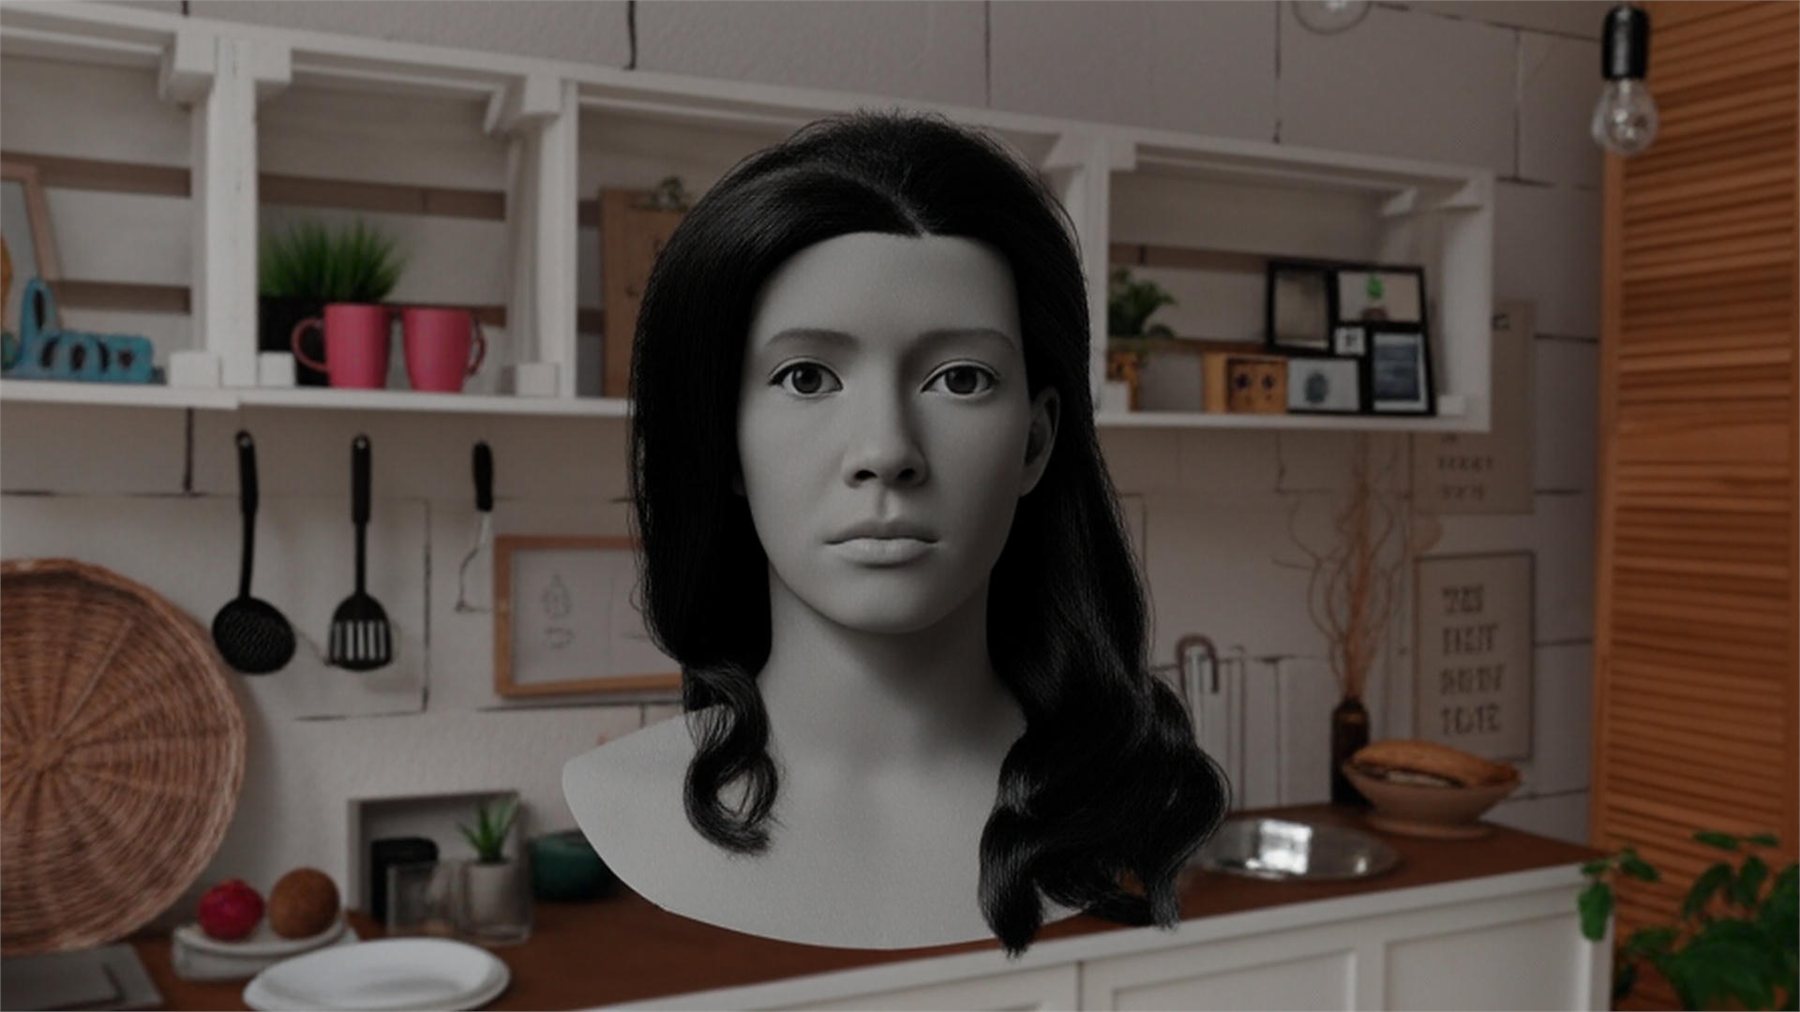
MetaHuman’s hair presets matched none of the models. I built every groom from scratch in Maya with XGen, working from reference photos of each subject.
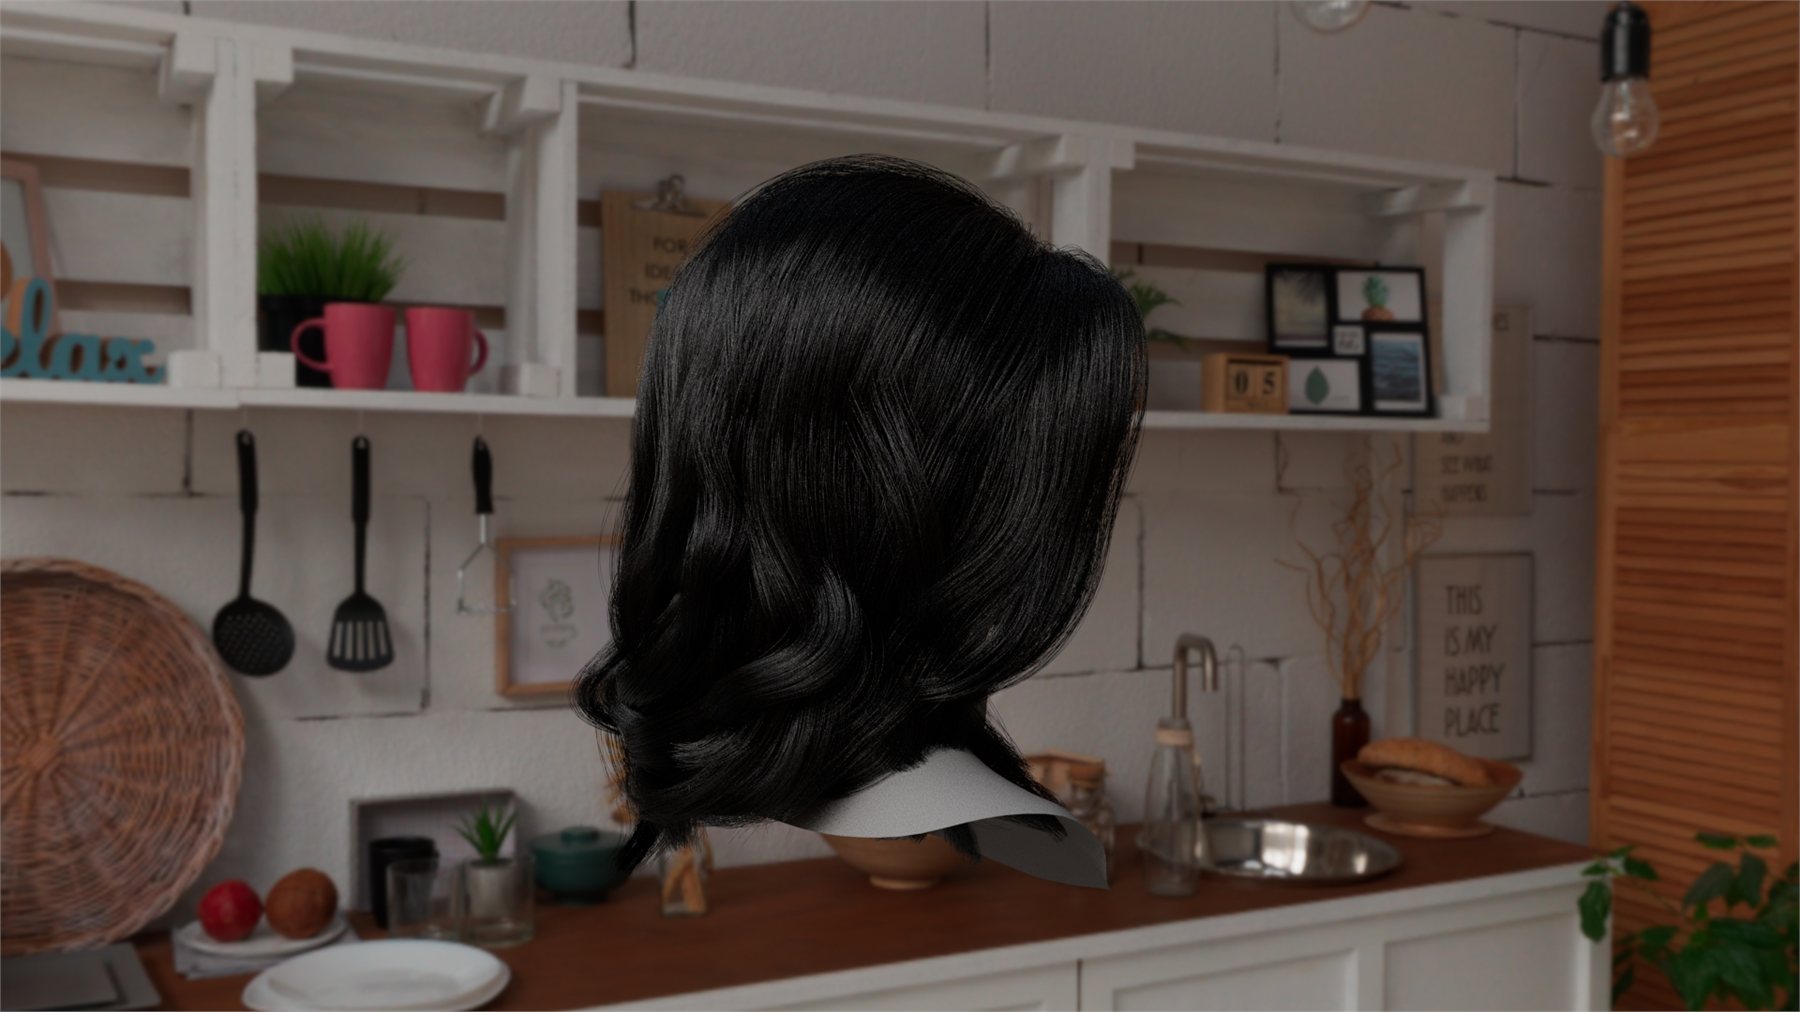
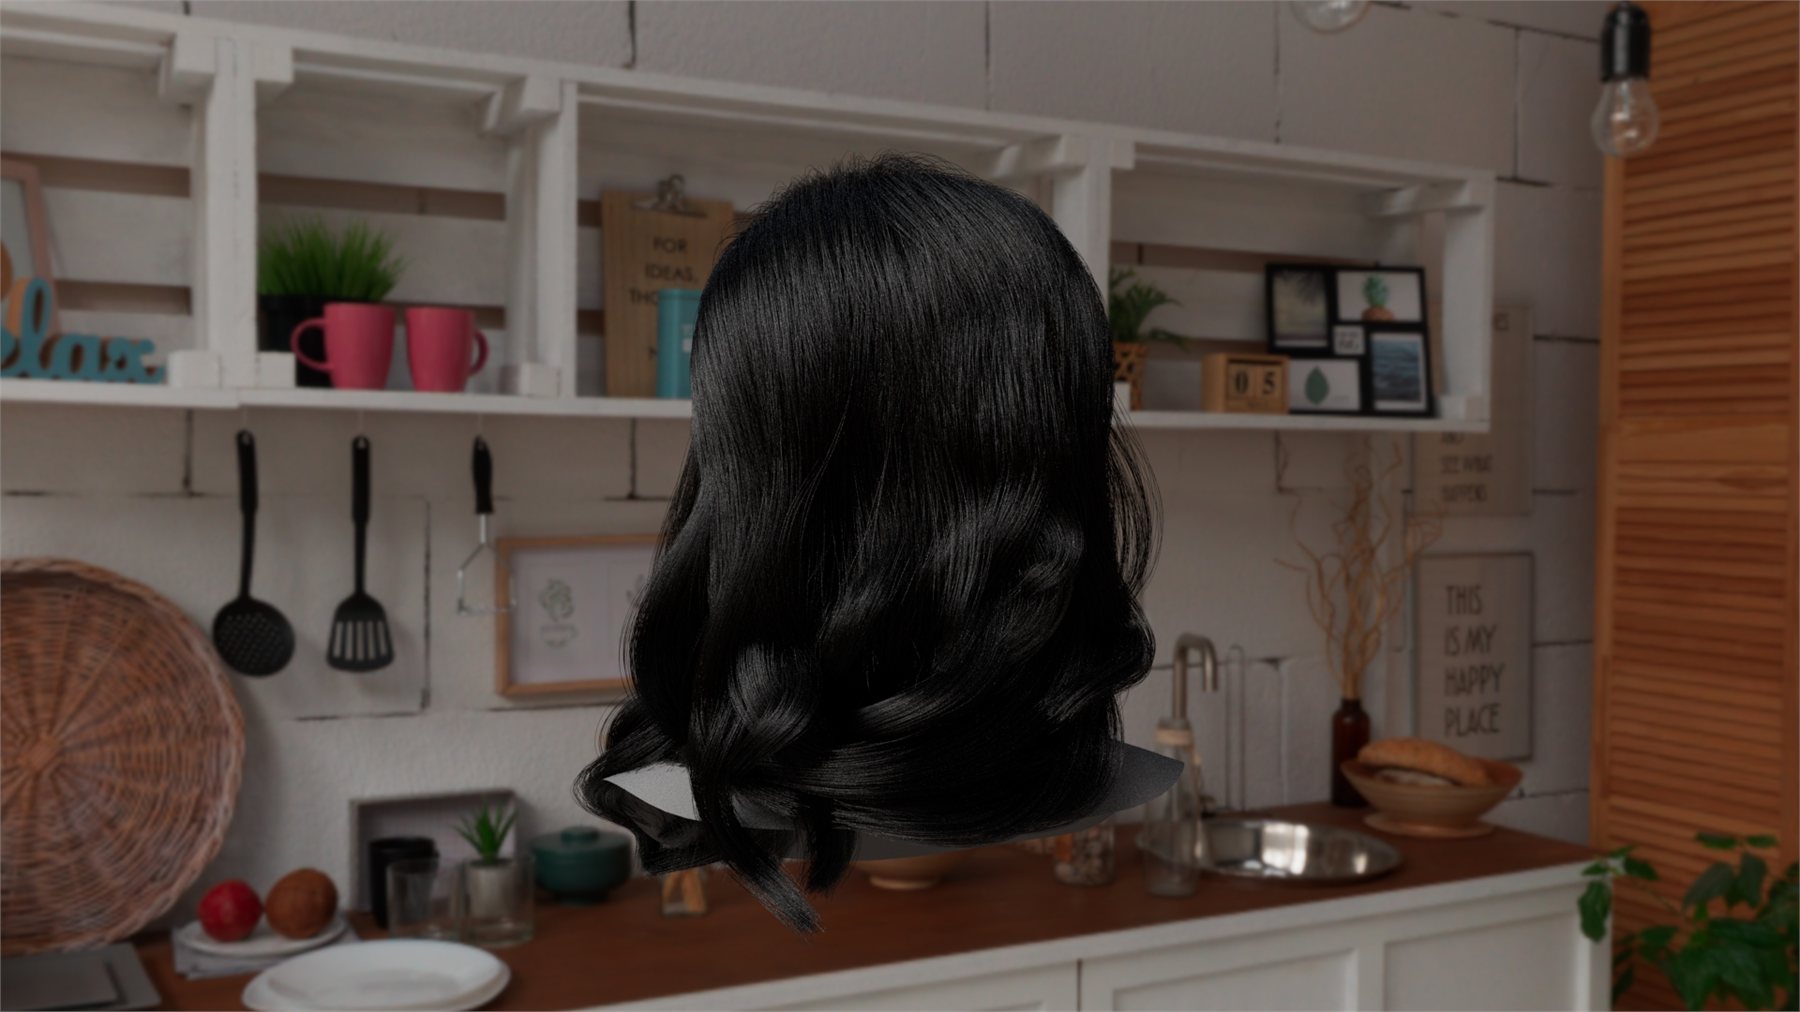

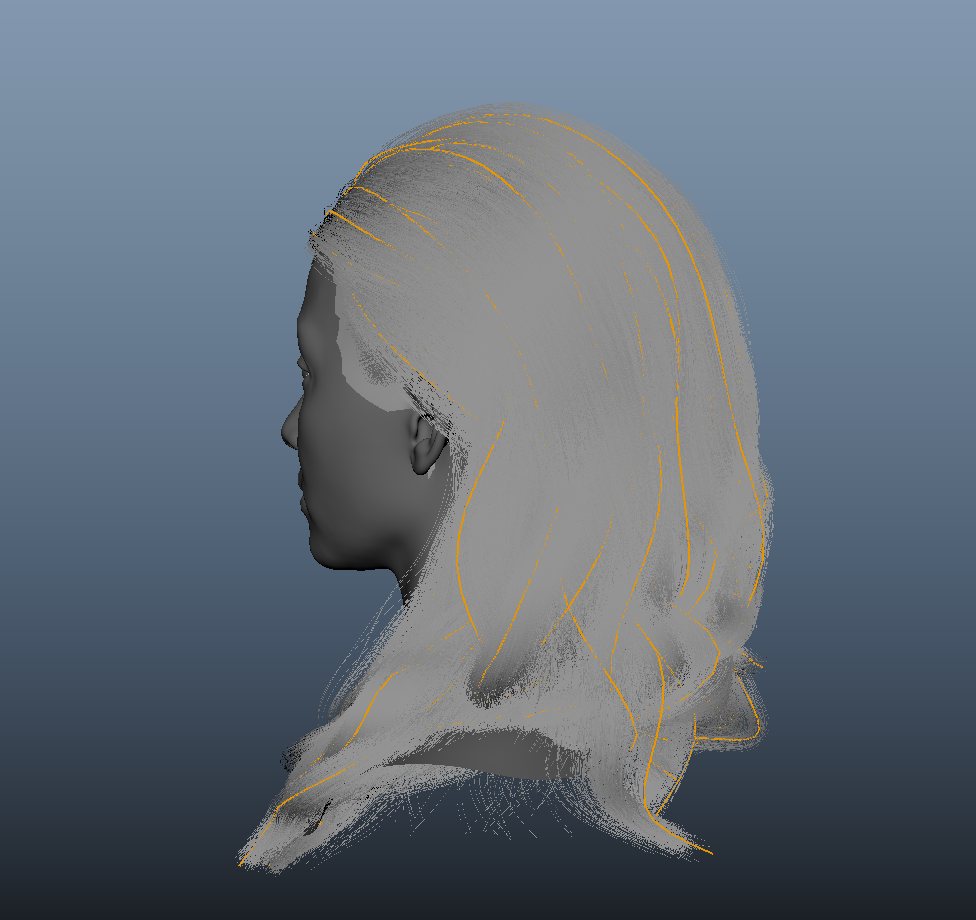
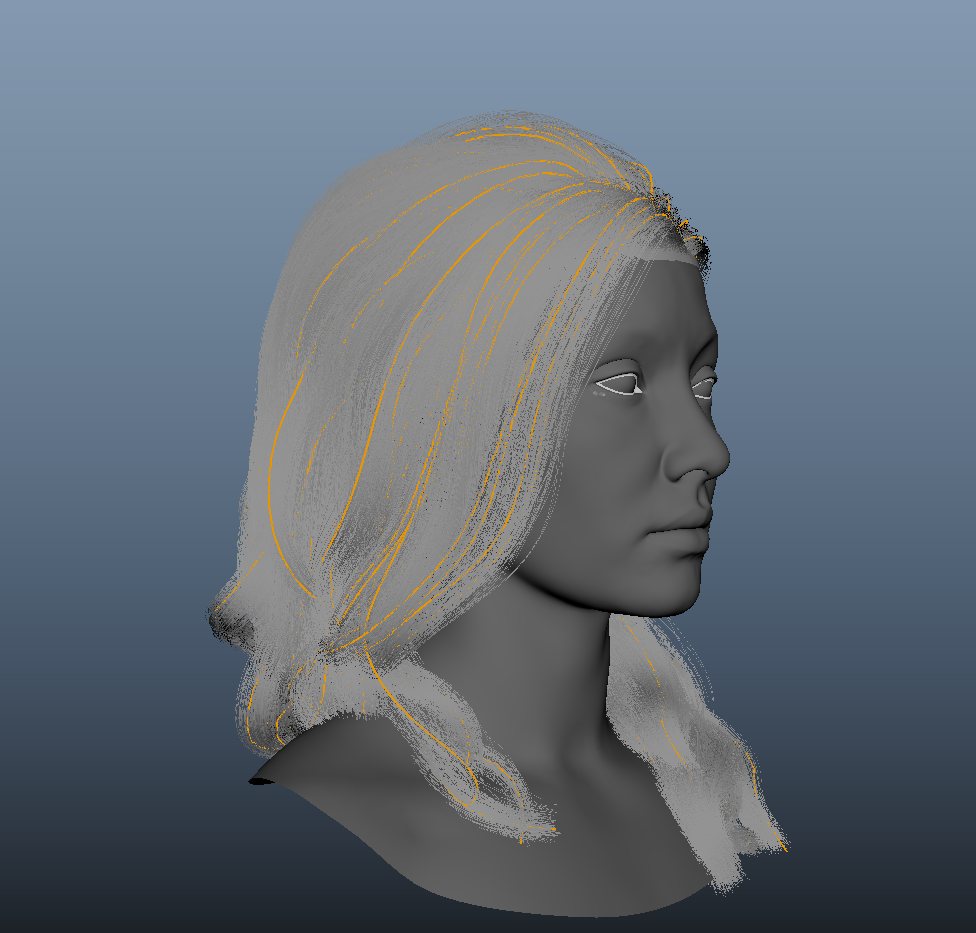
The environment
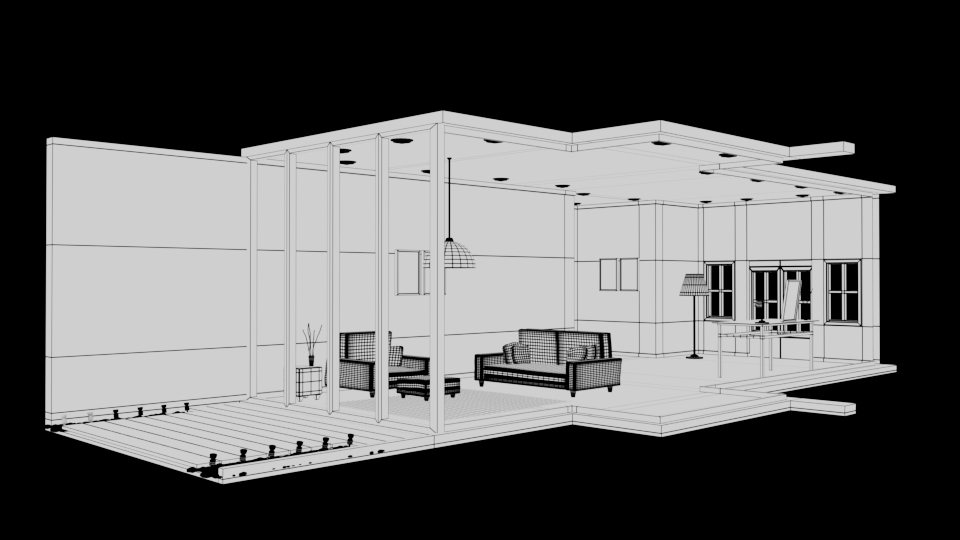
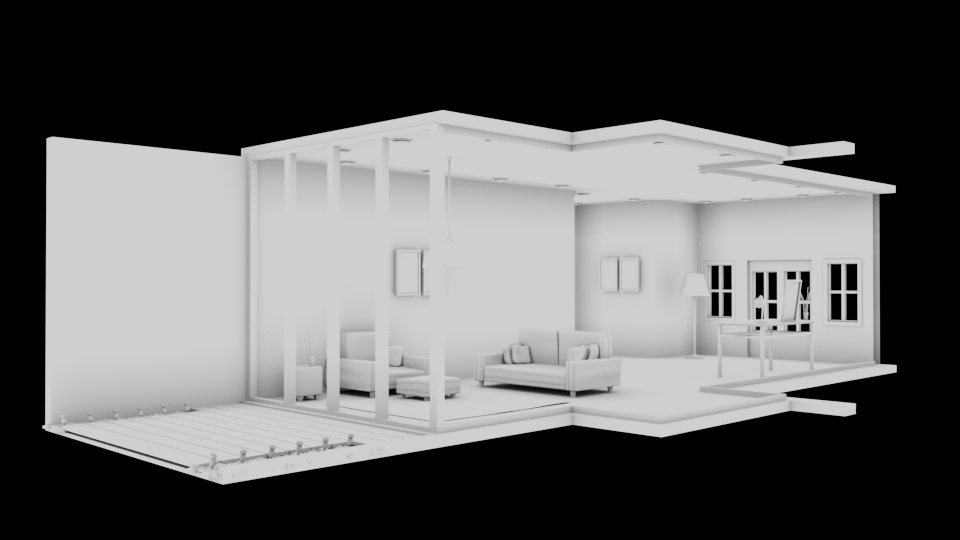
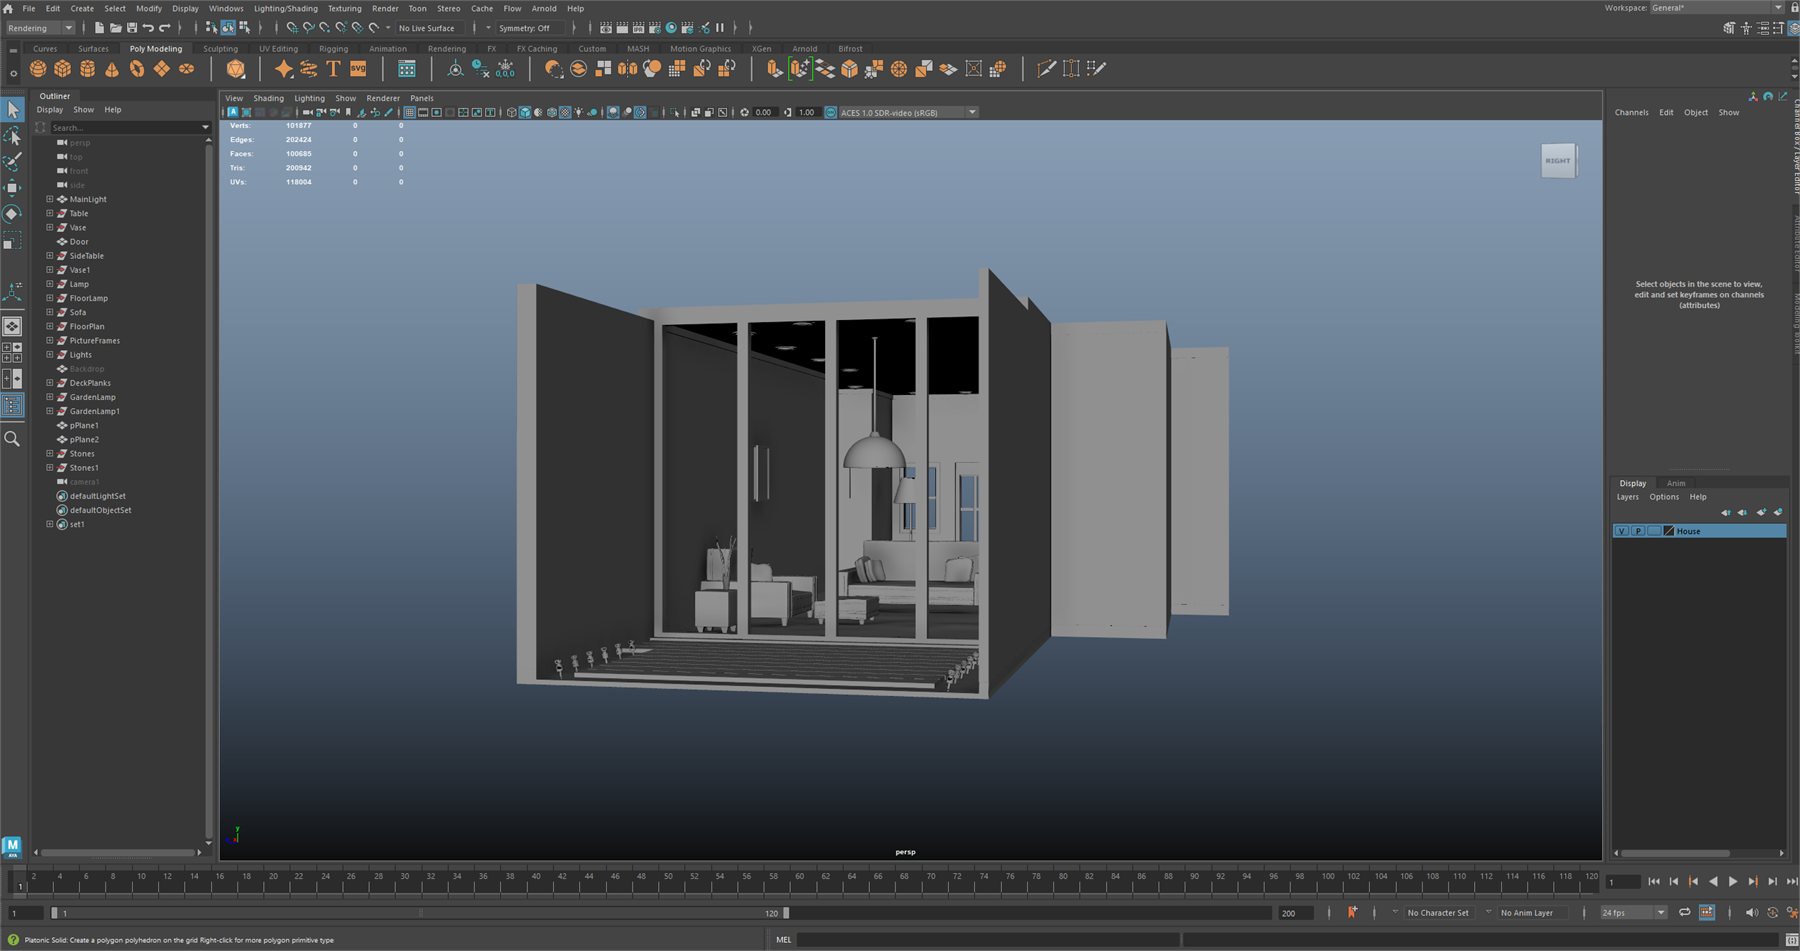
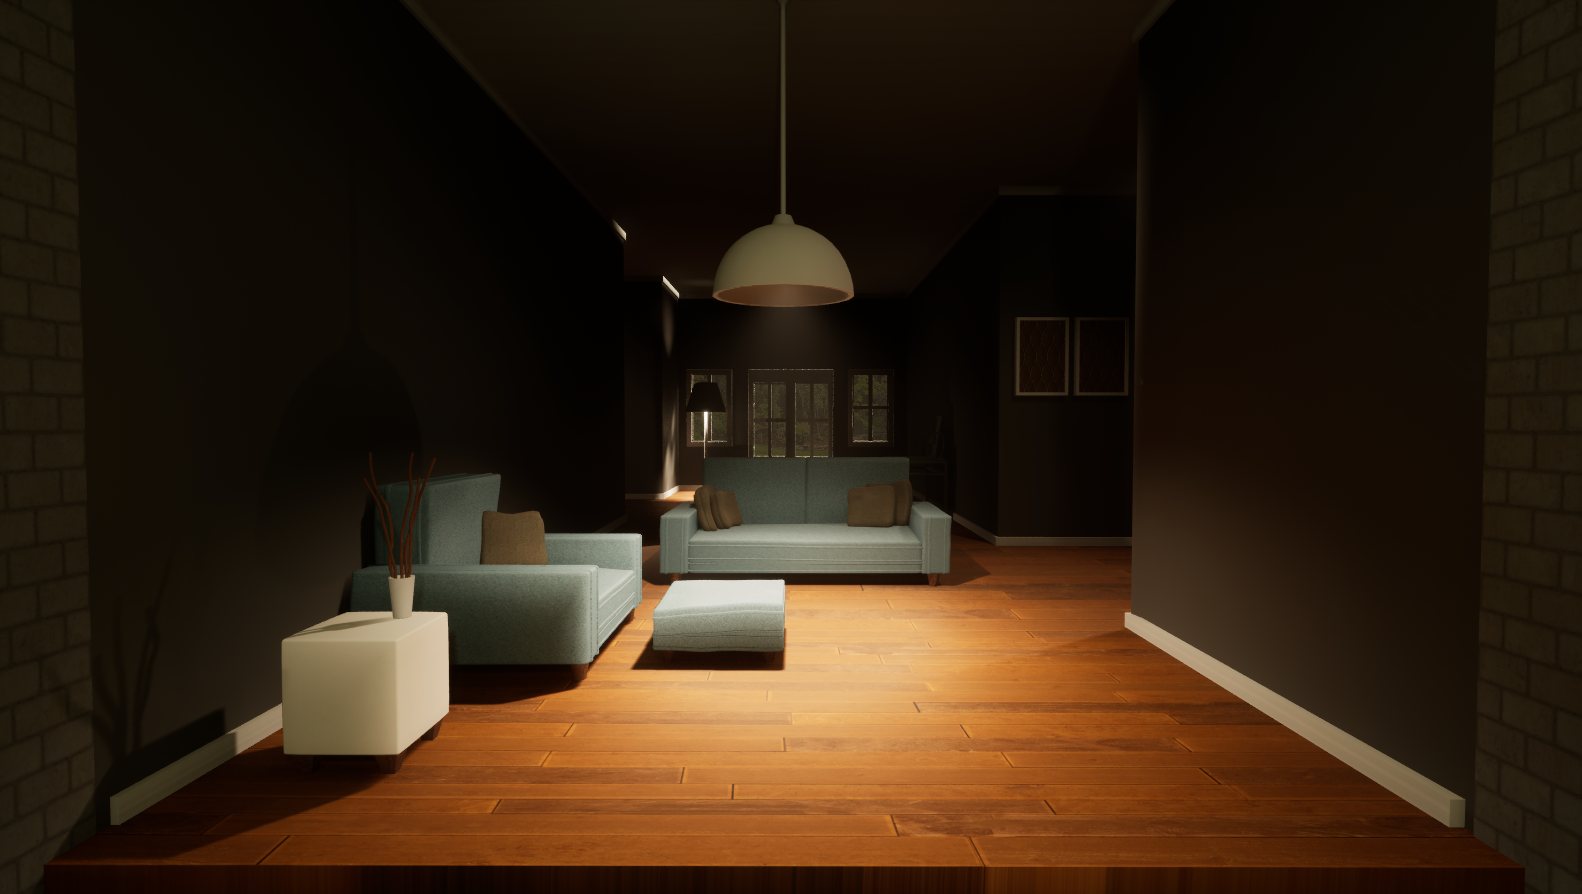
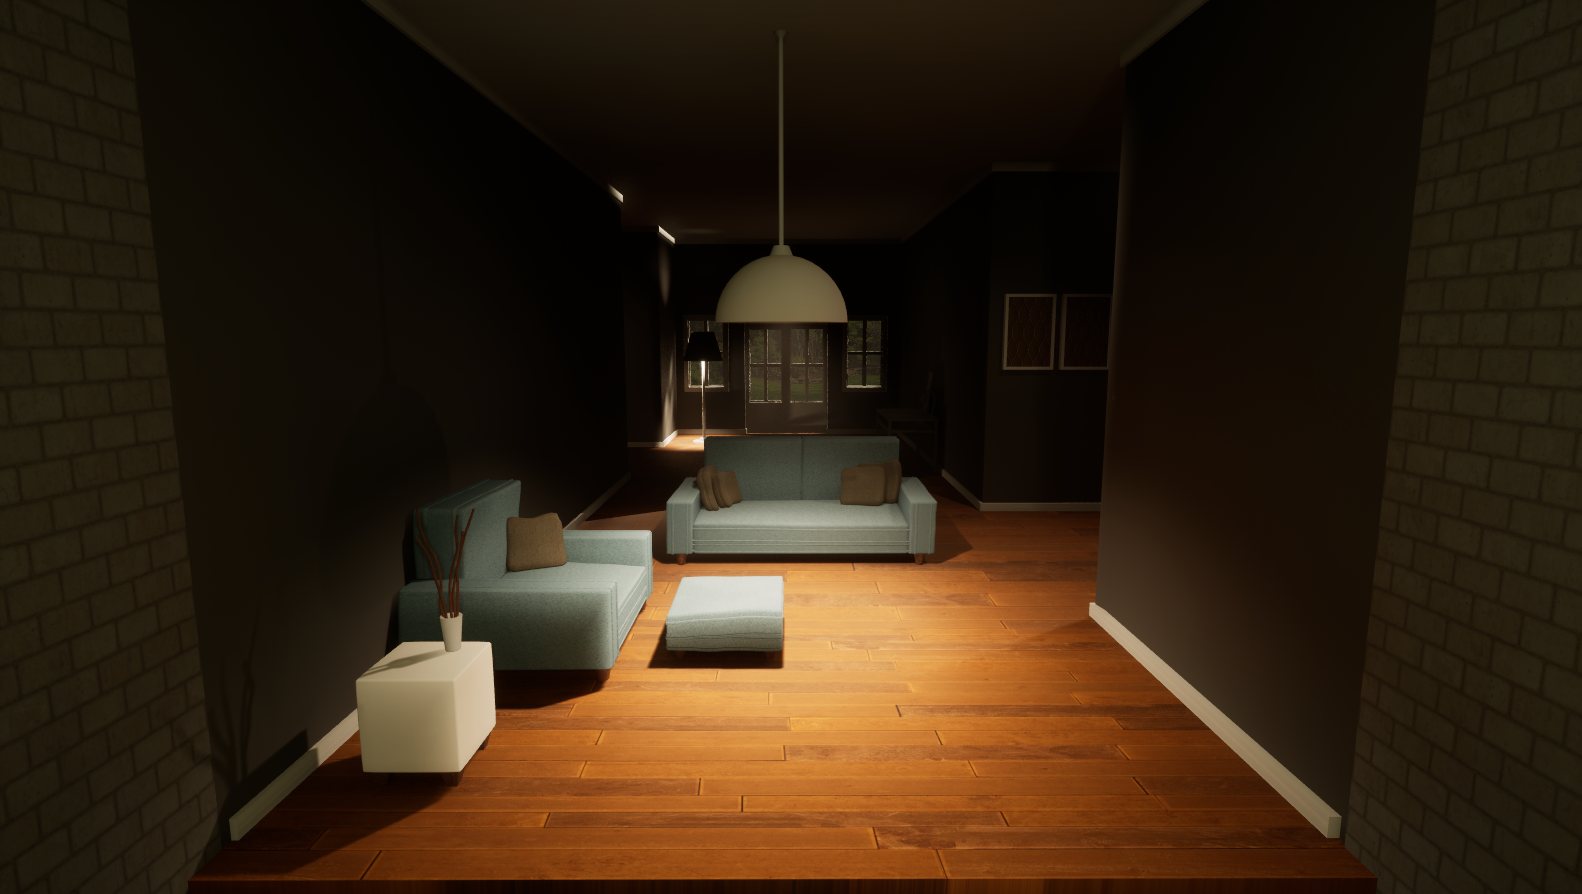
The client specified the interior the models would sit in and held firm on the layout. I built the structure in Maya and moved it into Unreal, filling out the scene with Marketplace assets where the schedule ruled out modeling from scratch.
Real-time performance
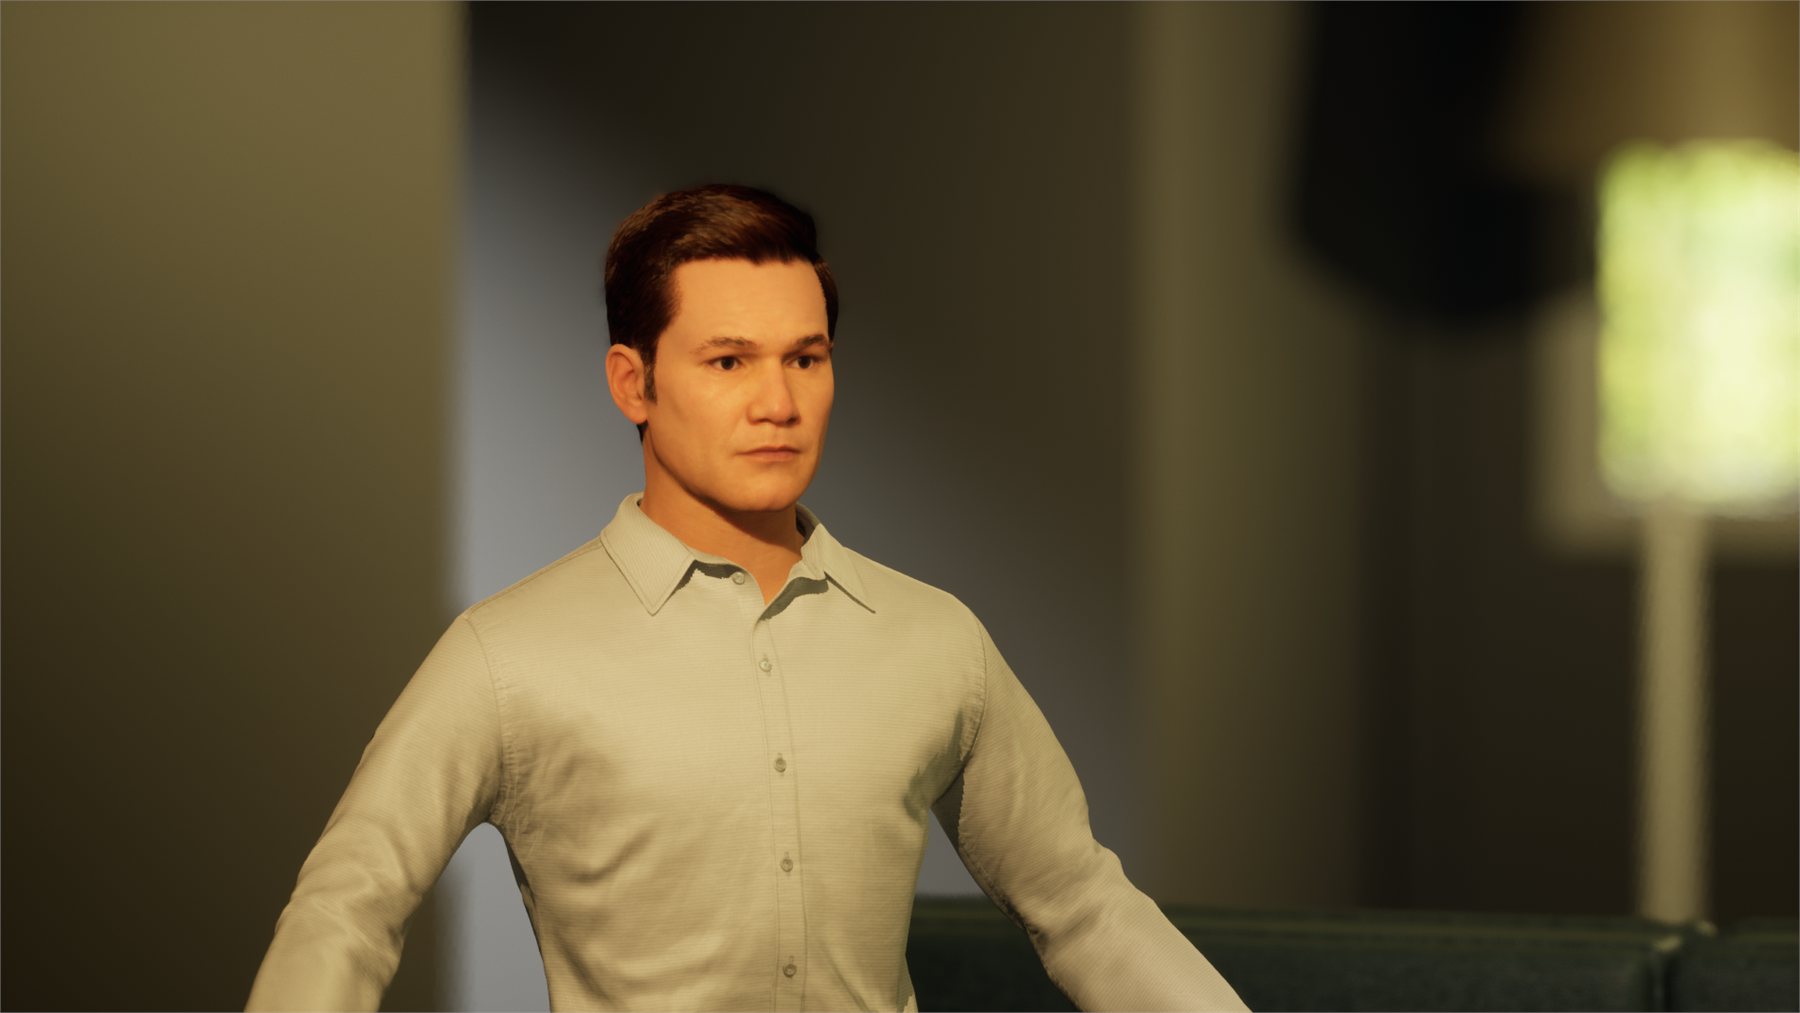
Live Link Face closed the loop, driving the facial performance onto the rig in real time from an iPhone.
Outcome
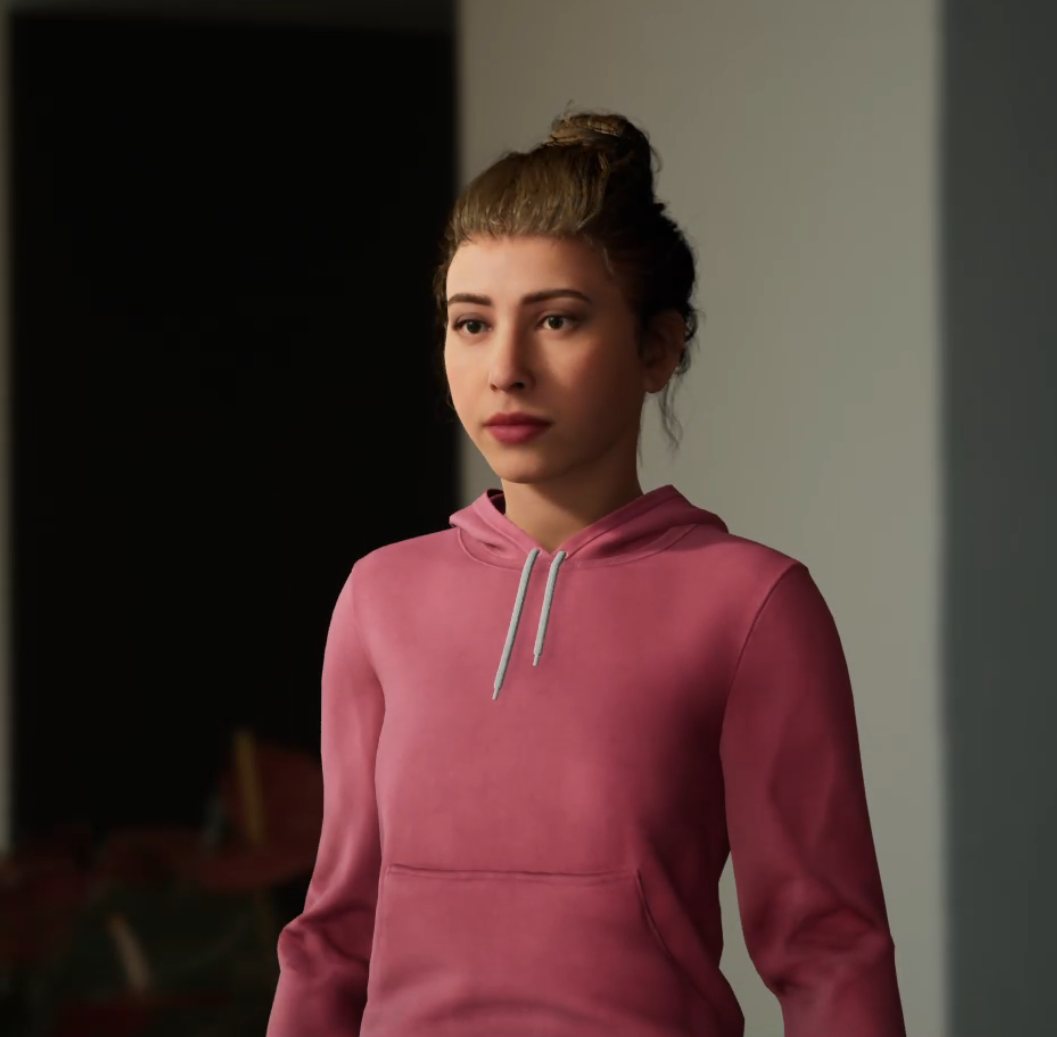
I delivered a documented pipeline the studio could run on any subject, from photographs through to a rigged character an iPhone can drive in real time:
- Photo capture, with a shoot setup that avoids reflective surfaces
- Point cloud generation in 3D Zephyr
- Retopology and mesh cleanup in Maya
- Integration into MetaHuman Builder
- Custom XGen hair groom from reference
- Placement into an Unreal environment
- Live Link Face for real time performance
It ran across multiple subjects on the agency’s roster over roughly two years. No performance metrics were captured, so the lasting outcome is the capability itself: a repeatable process, written down, that the studio did not have before.